Preferences
Preferences may be changed at two levels. The System Administrator may change system wide preferences (on the System tab select System Settings), or users may change their personal preferences from the Preferences menu.
Search Criteria
Select the Preference tab then select Search Criteria. Select the criteria you want to be set by default when searching for Incidents. Users do not have to use the default search criteria and can change the criteria used when they search for Incidents.
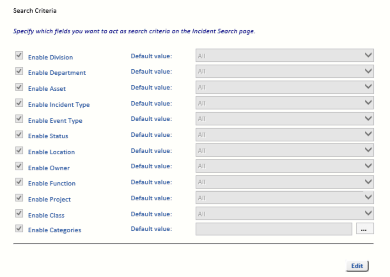
The criteria are normally set to All initially (except Categories, which is blank), but if you are working on a specific area, then you might want to configure the default values to show just the Incidents in which you may be interested. One criterion you might want to set here is the Incident Status to Open so that only open Incidents are displayed by default.
To edit a default value, click edit and select the required default value from the drop-down list. To edit the default value for Categories, click the ellipsis button (...) and select the required Categories from the list. Close the Category Selector window by clicking the x in the top right corner. The selected Categories are displayed.
Click Save to save the changes, or Cancel to discard the changes.
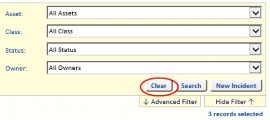
The new defaults are displayed on the Incident Search page after the Clear button is clicked.
Search Results
From the Preferences tab, select Search Results. This page displays the available layouts which can be selected on the Incident Search results page.
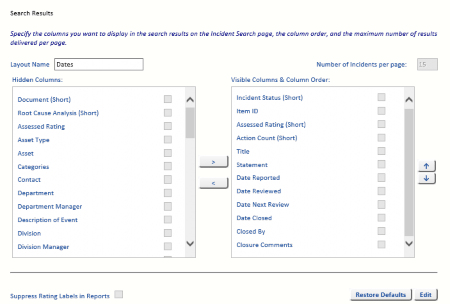
To change any settings, first click the Edit button to enter Edit mode.
The Search Results preferences page allows you to configure the layouts you may select when you do an Incident search. The initial settings for the layouts are:
All layouts will normally have the following columns:
- The 2 SART columns (Status, Assessed).
- The Act column (meaning Actions) shows the number of Actions completed/number of Actions active.
Click the Edit button to enter Edit mode. You can then select a layout to edit.
Entry Layout
The default layout is the Entry layout and this layout has the following defaults:
- Item ID
- The 2 SART columns (Status, Assessed).
- The Act column (meaning Actions) shows the number of Actions completed/number of Actions active.
- Incident Name
- Description
- Recurrence
- Severity
- Assessed Rating
- Residual
Other Layouts
Other layouts default to different aspect such as:
- Dates
- Location
- Ownership
- Review
- Value
- Other
Although you cannot Edit the Layout Name, you can change the columns you want to be displayed and the order of the columns on the screen. Click the Edit button and select a layout from the Layout Name drop-down list. You can now make changes to the selected layout.
You can hide or reveal columns by selecting the tick-box of the column you want to move and then by using the < or > buttons. Alternatively, select the Incidents tab then select Incident Search. The Search Results page is displayed and the layout can be changed by selecting a Layout from the drop-down list. The Edit Layouts link then allows you to edit the currently selected Layout.
Note: In View mode, and with the relevant layout displayed in Layout Name, you may Restore Defaults
Context Profile
Select the Preferences tab then select Context Profile.
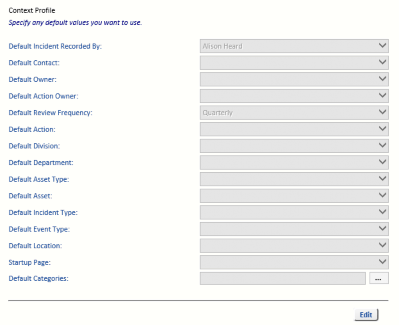
The Context Profile ensures your data entry may be as quick and effortless as possible. If you are focusing on, for example, construction workforce safety for steelworkers and are entering a batch of Incidents for a new project, you could set the division to City Works, the department to Civil Engineering, the area at Incident to Construction and the location to the building address. Then, while you enter Incidents relevant to that area, these fields would be populated automatically. You might then set the Incident contact as Business Unit Manager and the Incident owner and Action owner as Project Manager, and the review frequency to, for example, Quarterly.
Even though fields default to the values set here, they may be changed on the Incident as it is being created or at any time later.
The system sets your name in the Recorded By field, because that allows the system to automatically log who creates Incident records or makes changes in the system.
Action List
Select the Preferences tab then select Action List.
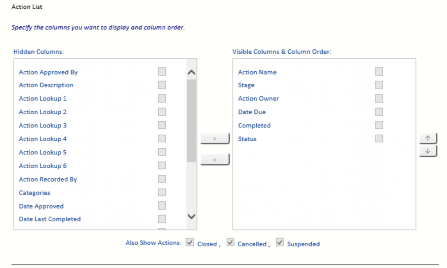
The Action list form allows you to specify the columns you want to see in the list of Selected Actions (on the Incidents tab, select Incident Search and then select the Selected Actions tab).
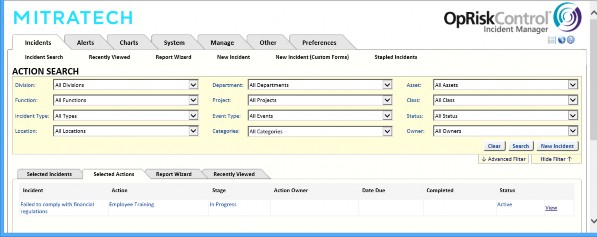
The Status column is controlled by system users, while the Stage column is determined by the system.
Action Code List
Select the Preferences tab and then select Action Code List.
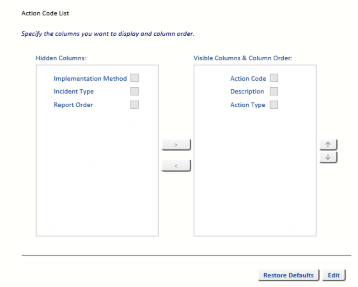
The Action Code List page allows you to specify the columns you want to see in the list of Action codes displayed on the Action Codes summary page. Select the Manage tab, then select Reference Data and select Action Code to see a summary (displaying just the columns selected above) of the Action Codes.


