Scheduled Task Set-Up
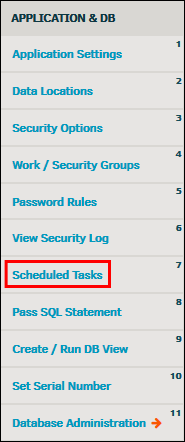
From Application Administration, the Scheduled Tasks hyperlink in the Application & Database sidebar allows site administrators and super users to schedule commands to run code at specific times. These commands can be used to execute account payable feeds, email notifications, etc. The Scheduled Tasks hyperlink lists scheduled tasks set up in your database along with start and end dates and the time they are scheduled to run.

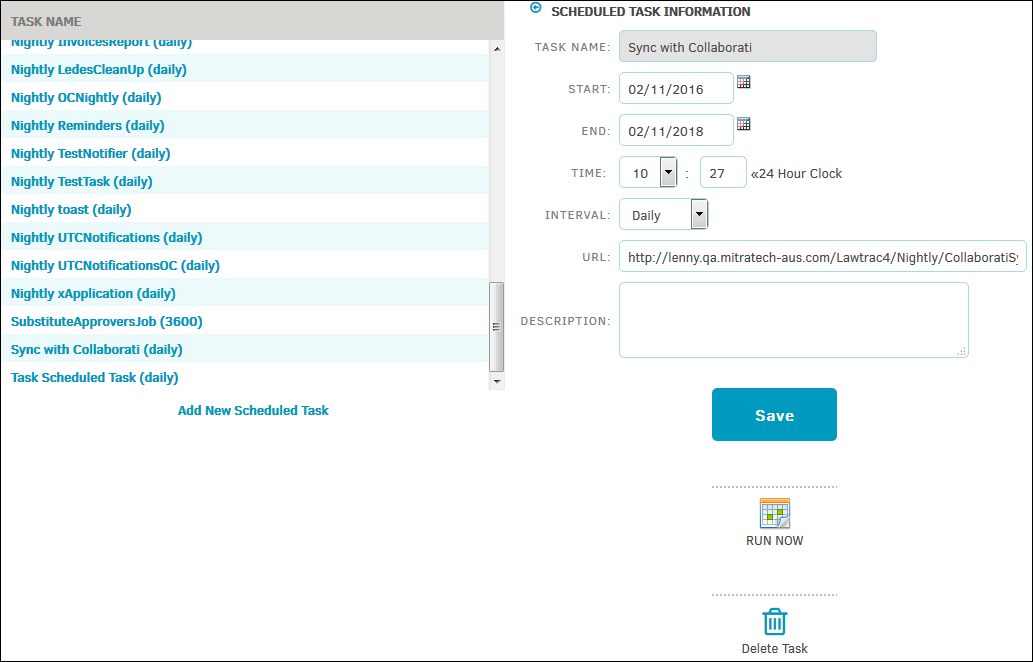
Click on an existing task to view or edit task details. The selected scheduled task's information displays to the right, where the information can be changed by clicking directly into the appropriate text boxes or using the drop-down lists. Click Save when finished to confirm changes or select the  icon at the top to return to the list view.
Within an opened scheduled task's information page, click the  icon to run that task, or click the
  icon to delete the task.

Add a Scheduled Task
To create a new scheduled task, click Add New Scheduled Task at the bottom of the task list. Use the text boxes and drop-down lists to enter your task data, then click Save to commit the information to the database. Click the  icon at the top to cancel and return to the task list.
|
Fields |
Description |
|---|---|
|
Task Name |
This is the title of the task. |
|
Start Date |
This should be at least one day prior to when you actually want to start using the Contract Notification module. |
|
End Date |
The end date must be a future date. To alleviate the possibility of the notifications stopping inadvertently in the "near" future, make this a “2020” date. |
|
Time |
The task runs automatically at the time specified. We strongly encourage tasks to be run at night, typically between Midnight and 6:00 a.m. Depending on the amount of data being collected for these notifications, it can take quite some time to run. The setting is based on a 24-hour clock, so the time shown “01:30” is actually 1:30 a.m. (Eastern), while “24:00” would be Midnight. Your time zone must be taken into account when setting this up. If you are in the Pacific Time Zone, and you schedule this for 1:30 a.m. (Eastern), it will actually run at 10:30 p.m. (Pacific). The timing may impact the date you want to appear on your notices. If you want the notice to be dated May 1, under this scenario it would be dated April 31. To run the notices at 1:00 a.m. on any given date, you would want to use the following settings: Pacific Time Zone: 04:00 Mountain Time Zone: 03:00 Central Time Zone: 02:00 Eastern Time Zone: 01:00 |
|
Interval |
The options here are Once, Hourly, Daily, Weekly, and Monthly. This should be set to Daily. Each day at the time specified, this task looks at the Next Notification Scheduled for date in the Module set-up screen. |
|
URL |
DO NOT CHANGE THIS INFORMATION. |
|
Description/Comments |
If you wish to make comments about the task, enter them here. The comments do not impact the notices; they only appear on this screen. |
Once you have made the appropriate selections, click Save New Task.
Other icons associated with scheduled tasks:
 —Deletes the entire task. If you accidentally delete the task, please contact Lawtrac Support and they can add it back to your site.
 —Runs the task manually. If you need to send out notifications at some time other than your regularly scheduled time-frame, you can use the Run Task icon to do so. Please note that email notifications will only be sent out once each calendar day. If the task runs automatically at 1:30 a.m. on Monday night, May 2, you cannot generate emails manually during the day on Monday, May 2. You would need to wait until Tuesday, May 3 to generate additional emails.
Notice Report
After the task has run, Lawtrac creates a Notice Report and stores it in the Documents List. This report can be accessed through Documents | Documents List. The reports are entitled “Notice Report”.

