
Create a Dashboard
Create a new dashboard and add a widget.
The instructions below detail how to create a new Dashboard and how to add a widget.
Create a Dashboard
- Log in and navigate to the Dashboard tab.
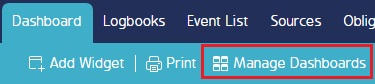
- Click Manage Dashboard button in the top banner menu.
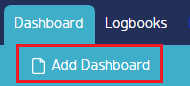
- Click Add Dashboard. The New Custom Dashboard will appear.
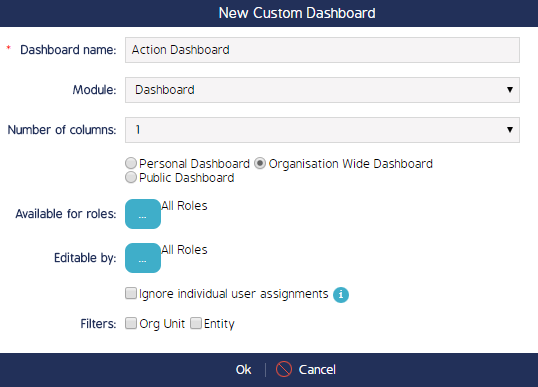
- Fill in the respective dashboard information and click OK.
- Dashboard Name - only required field - enter a name for the dashboard.
- Module - leave this as “Dashboard” unless you want it to appear in another module.
- Number of Columns - select the number of columns you want.
Note: The widgets will diminish in size the more columns you add.
- Select if you want the dashboard to be Personal, Public, or Organization-wide.
Note: Other options will appear or disappear depending on the selection.
- Org-Wide Dashboard: Assign the Roles that will be able to available to, and which roles will have access to Edit the dashboard.
- Public Dashboard: Assign Roles that the dashboard will be available to view when logged in and the dashboards which can be accessed by all the users without logging in to the CMO application. Click Public Access Dashboard for more information.
- Ignore Default User Assignments - This is only available for select widgets
- Filter checkboxes - can be quite important - this exposes a searchable filter on the dashboard.
Add Widgets to a Dashboard
The instructions below outline how to add a widget to the newly-created Dashboard.
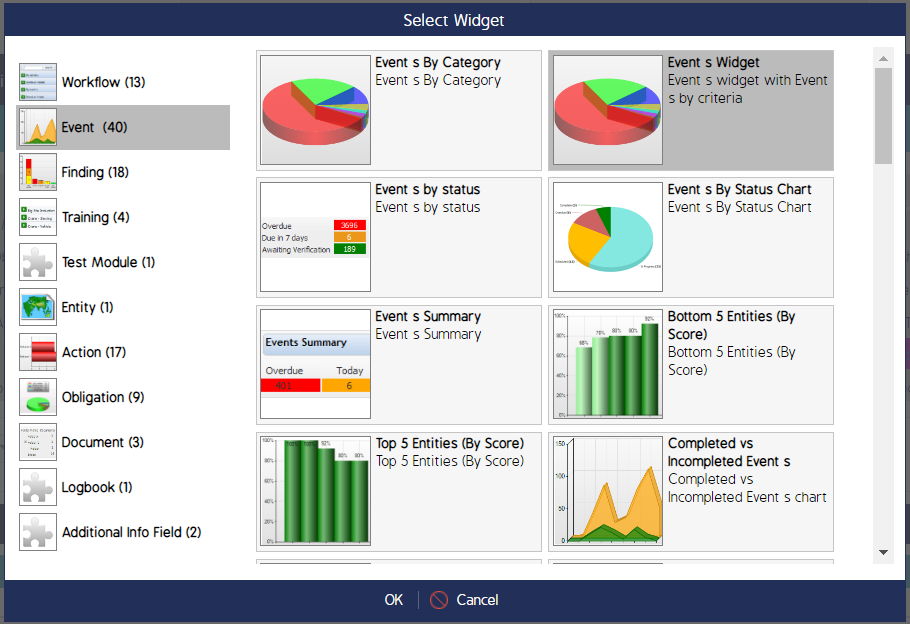
- If you are not creating an Event Widget, select the type of widget you want from the Select Widget screen. Configure the respective information for that widget and save it.
If creating an Event Widget, select the Events category from the widget options, and click Events Widget. Click Ok.
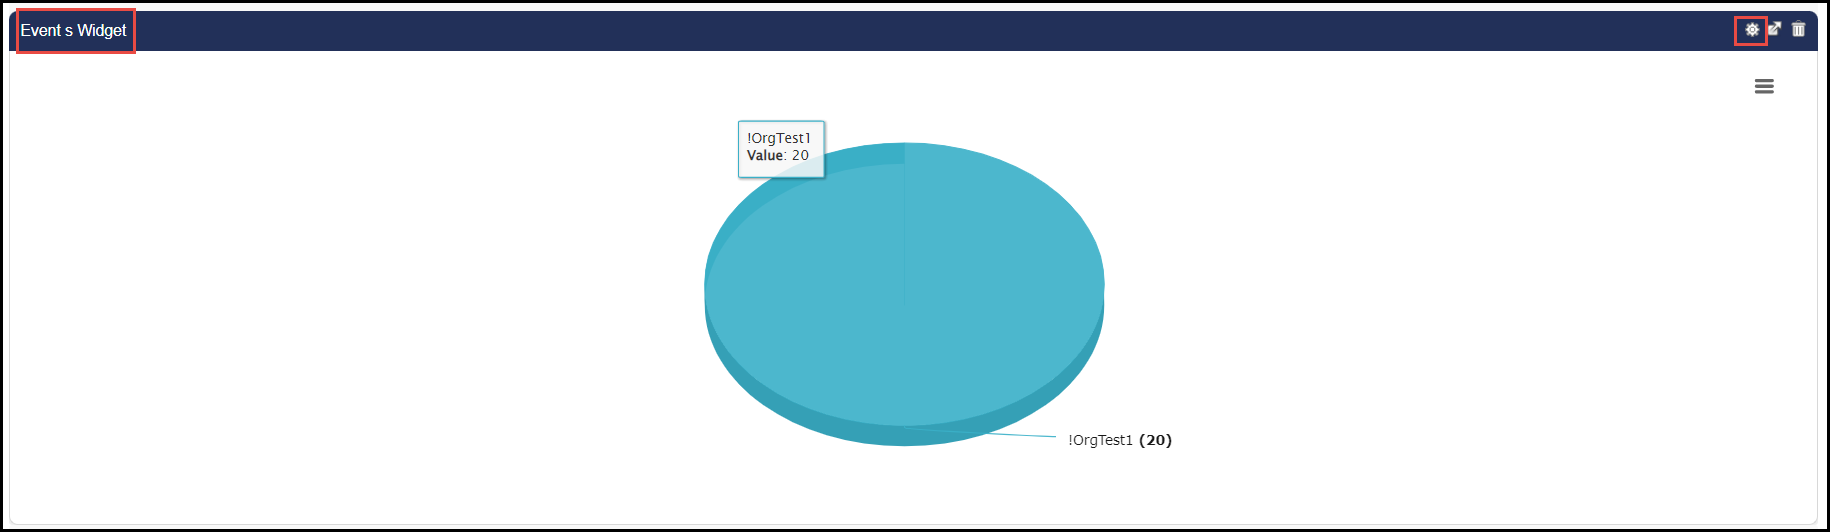
2. Once the widget appears, click the cog wheel in the top right corner of the screen (this acts as an Edit button).
3. You will be redirected to the Edit Widget screen. Here, you will configure specific information to display using the respective configuration options.

4. Click the transparent Save button in the bottom left corner of the screen.