
Time Period Filter For Dashboard
Time Period Filter For Dashboard
CMO application allows the user to avoid needing to have separate widgets or dashboards to display the same content over different periods or having to constantly change the date settings on individual widgets to see data over different periods of time.
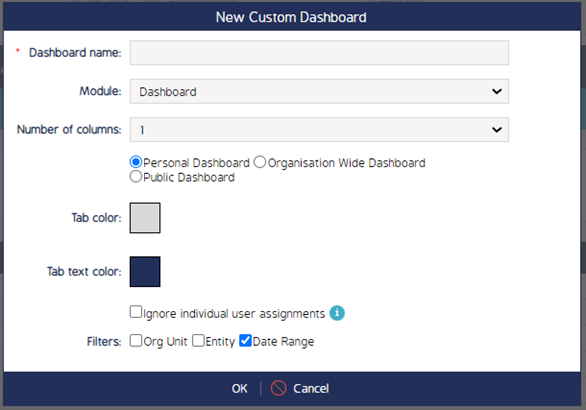
To implement this functionality, a new Date Range check box has been introduced in the Dashboard. The check box can be accessed by creating a new dashboard or editing an already existing dashboard.
Steps to Enable Time Period Filter for Dashboard
Enable Time Period Filter via New Custom Dashboard
1. Login to CMO application as an Admin.
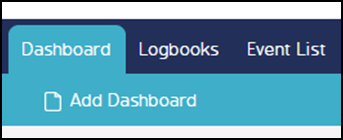
2. Go to Dashboard > Manage Dashboard > Add Dashboard.

3. Click on Add Dashboard
4. A New Custom Dashboard screen pops up.

5. From the Filters section, check in the Date Range check box.

6. Click OK to enable the Date Range filter for the newly created Dashboard.
Enable Time Period Filter via Edit Dashboard
1. Login to CMO application as an Admin.
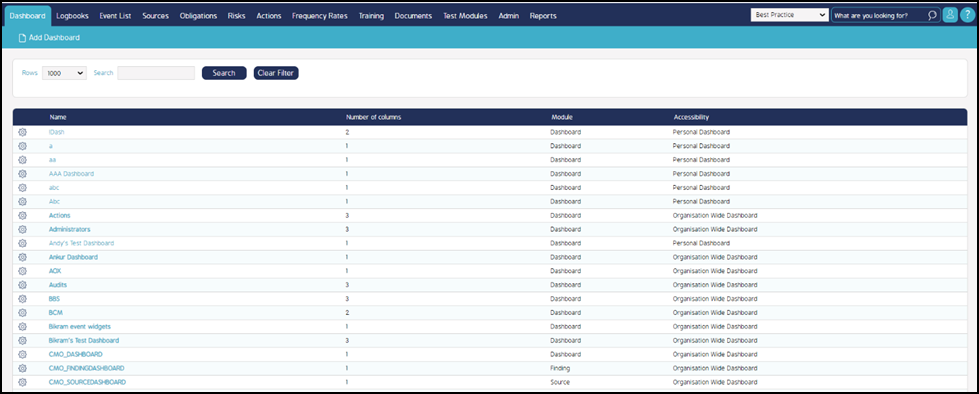
2. Go to Dashboard > Manage Dashboard
3. The list of available dashboard in the application will be listed.
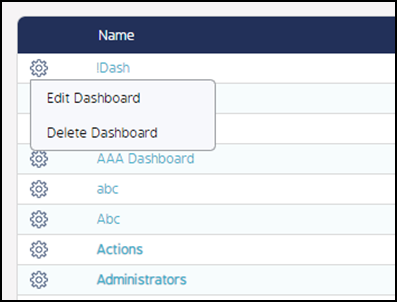
4. Click on the cog wheel of preferred dashboard and select Edit Dashboard.
5. An Edit Dashboard screen pops up with already defined fields and check box options.
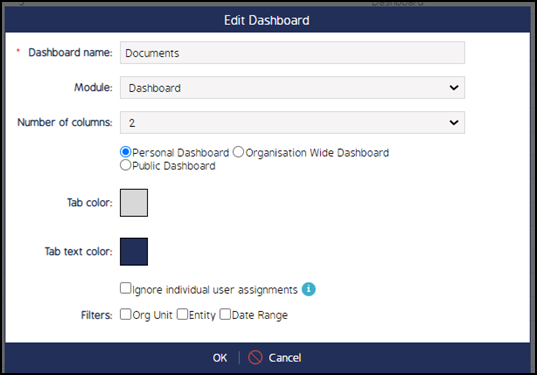
6. From the Filters section, check in the Date Range check box.
7. Click OK to enable the time period filter for the Dashboard.
How to Use Date Range Filter
When enabled, the Date Range filter appears on the Dashboard. Click on the newly created dashboard or the edited dashboard to check if the filter is enabled. The following image displays the enabled Date Range field in the Dashboard.

Note: The enabled Date Range filter is applicable to all the widgets available in the dashboard that supports filter by date.
Steps to Apply Date Range Filter to the Widgets
1. Go to Dashboard Module.

2. Select the desired Dashboard for which the Date Range filter is enabled.
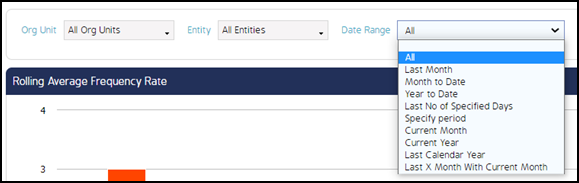
3. From the Date Range filter, select the filter option for which the data should be displayed for the widgets. The Date Range filter has multiple filter options as shown in the following image.
4. Select the filter option from the Date Range dropdown. The data in the widgets will be displayed according to the selected filter.
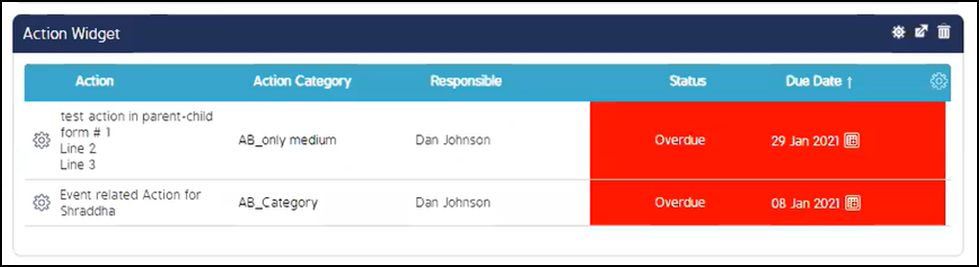
5. For example – The following is the default data shown for the Action Widget according to the widget settings i.e., the due date from Jan 1, 2021 to Dec 31, 2021.

6. When the Date Range filter is applied, the system overrides the default widget settings and considers global Date Range filter setting for displaying the data accordingly. The following image shows the data when the Date Range filter is selected as Last Month.
7. Similarly, the widget shows the data according to the filter option selected in the Date Range filter.