
Calendar - Key Dates
What are Key Dates?
Acuity users can link calendar events to date defined fields within the details tab of their matters. The Key Date functionality creates a unique section on the details tab of the matter that allow dates to be managed from there, or to configure the feature.
Creating a Key Date from the Matter Tab
-
Open the matter/claim you want to work on and navigate to the Details tab.
-
Scroll down until you see the Key Date section
-
Click the green ADD text.

-
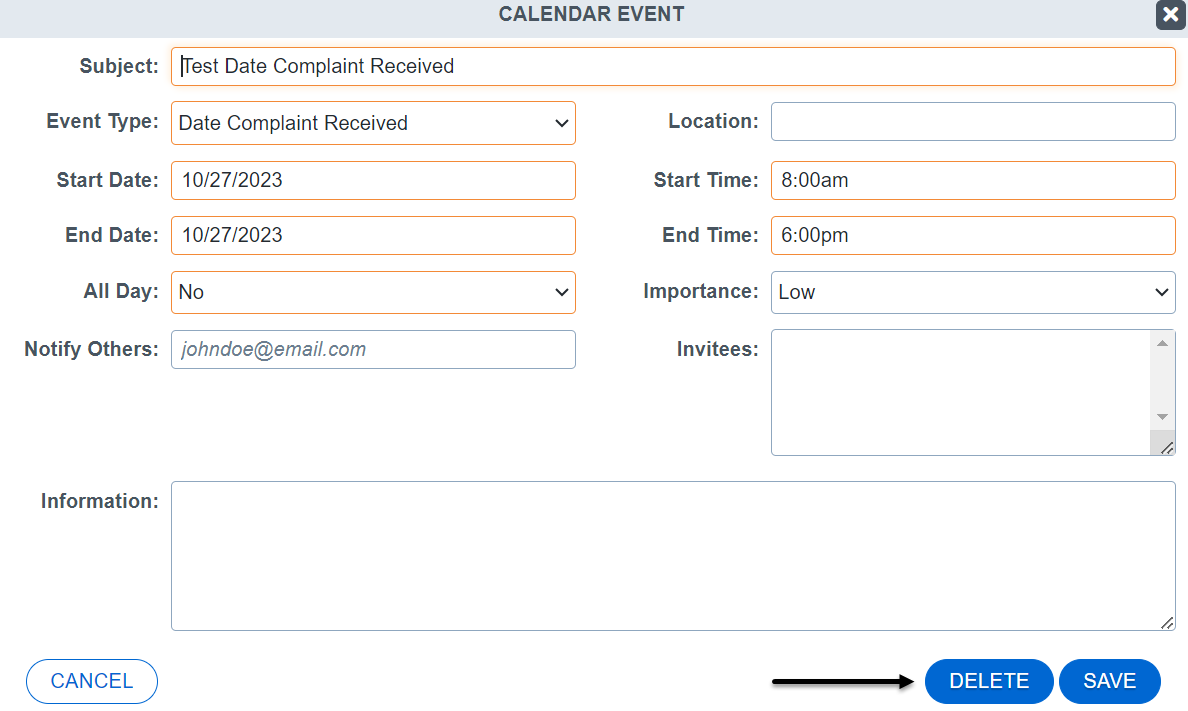
Complete the fields in the popup menu. The fields highlighted in citrus are required.
-
The Event Type will default to the field header you selected.
-
Click Save.

-
You can now validate the date has been added to the field in the details of the matter:
-
The event also shows up in the calendar view under Collaboration.
Creating a Key Date from the Calendar
-
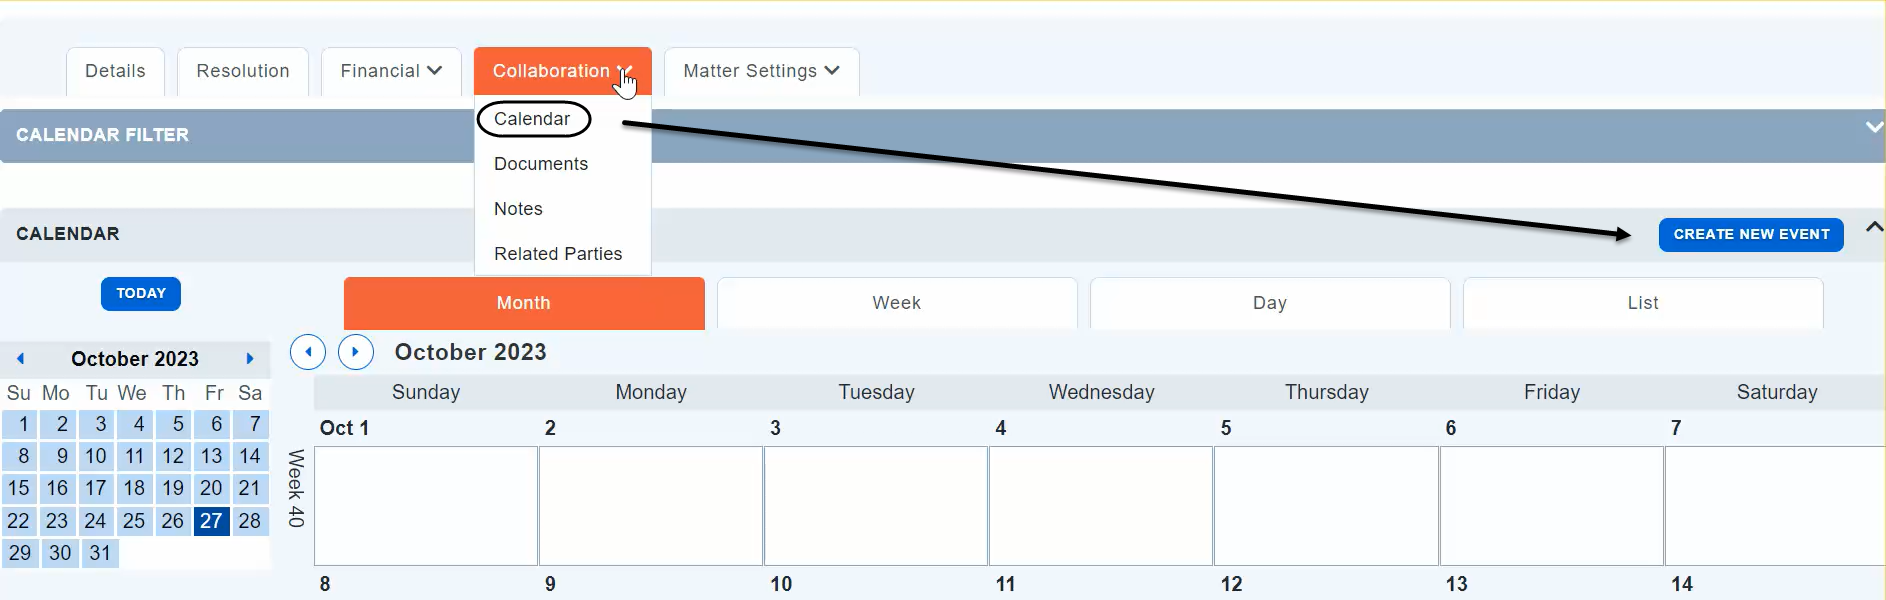
Open the matter/claim you want to work on and navigate to the Collaboration tab.
-
Select Calendar.
-
Click on either the day you want the event to start within the calendar or select the Create New Event button.
-
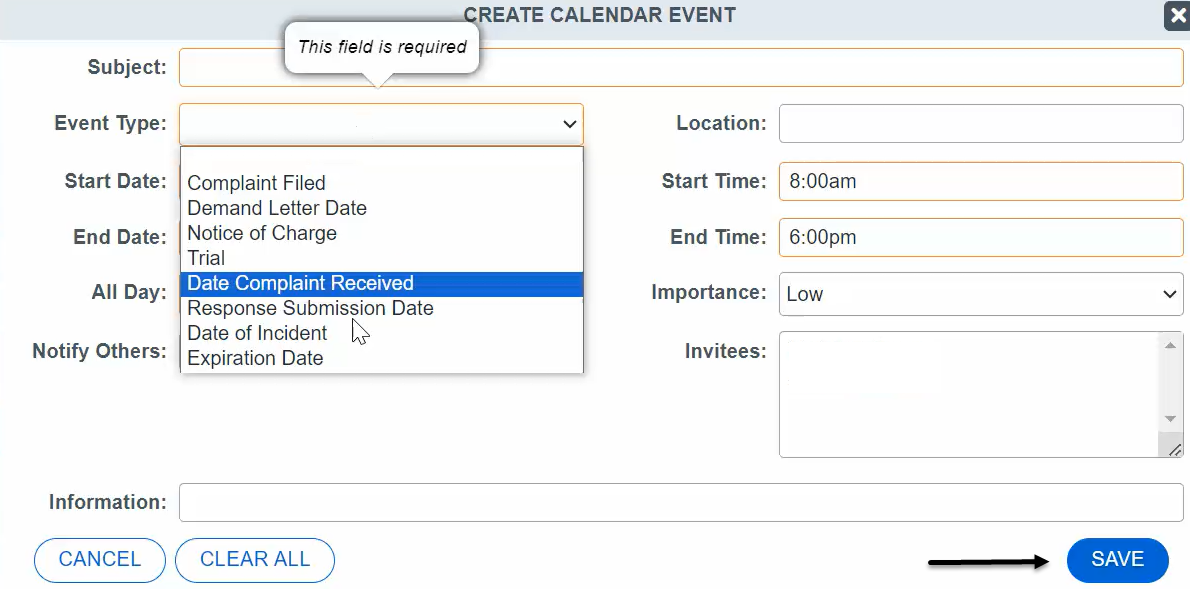
Complete the fields in the popup menu. The fields highlighted in citrus are required.
-
Note that you can only create one event for each key date event type. Event types that are already being used will be noted in the event type drop down menu.
-
Not all Event Types will be configured as Key Date Event Types.
-
Click Save.
-
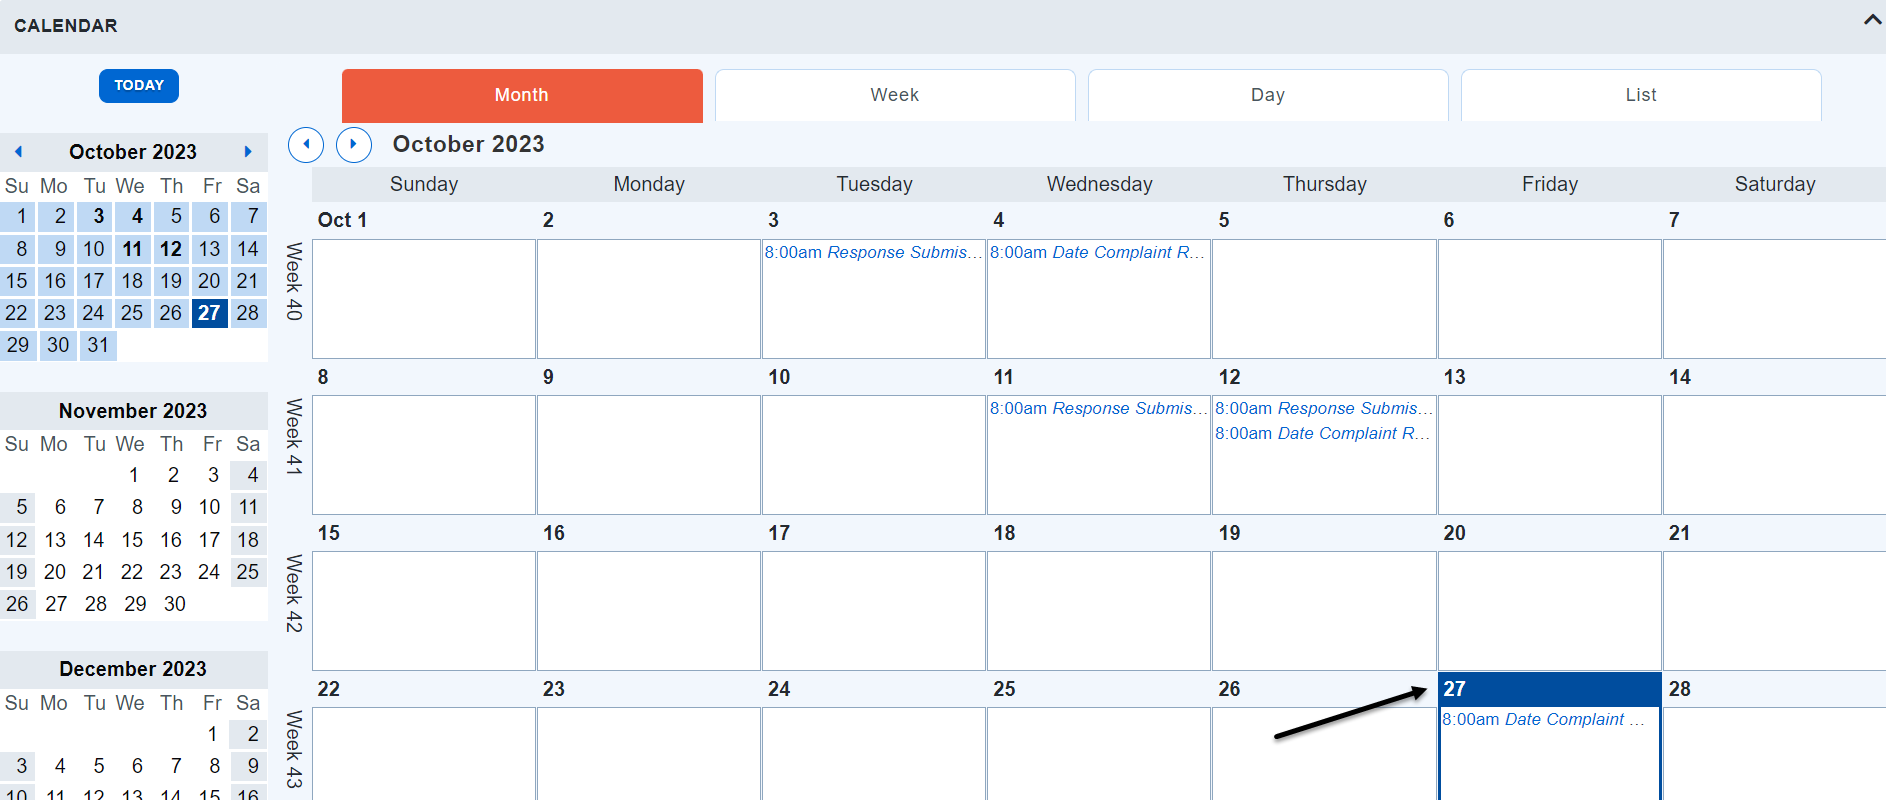
You can now validate the date has been added to the calendar.
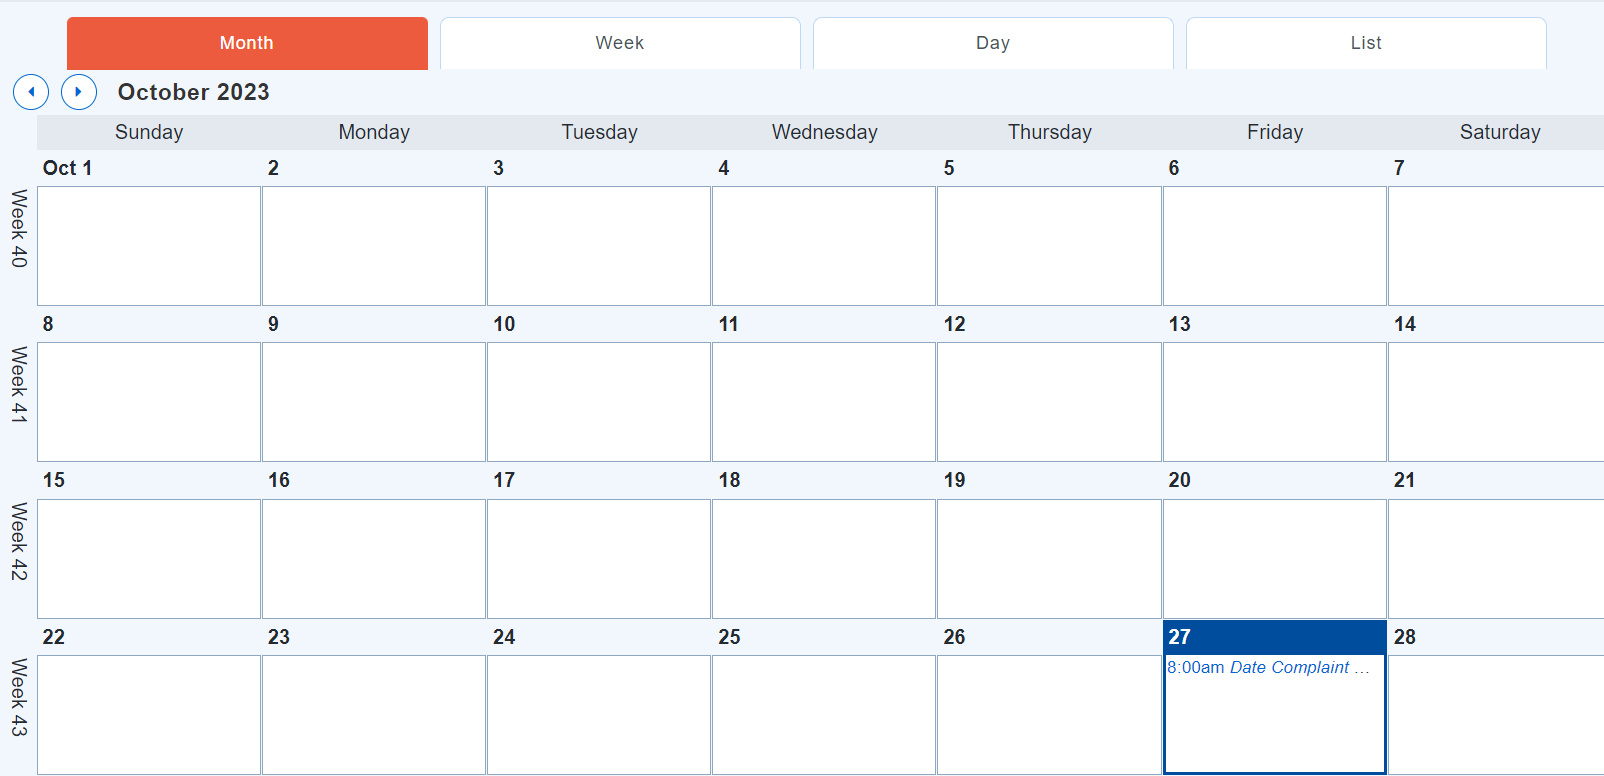
-
The event will also appear in the Details tab in the corresponding event type field.

Editing a Key Date
From the Details tab:
-
Click on the date you want to edit.

-
Make your changes in the popup that appears and click “Save.”
-
You can also delete the event by clicking “Delete.”
From the Calendar view:
-
Click on the date you want to edit.

-
Make your changes in the popup that appears and click Save.
-
You can also delete the event by clicking Delete.