
Business Rules and Settings
1. Business Rules Settings by System Admin
For any organization to have access to CMO application, the System Admin (SA) account (with SA login name) helps in setting up a working CMO environment. The CMO services and support team helps set up this account and configure the required settings to access the active CMO application.
System Admin Account – There is only one of these for the whole application instance. Using the System Admin account the user can configure global settings for the entire instance and also creates a Super Admin user account that can configure the CMO environment.
The System Admin can configure the following settings and users which are available under Business Rules:
- System Settings
- System Languages
- Currency Settings
- Create a New Company
Note: All the above settings are available only for System Admin.
1.1 System Settings
- Login to the CMO application as a System Admin.
- Go to Admin > Business Rules > System Settings.
- A System Settings window pops up.
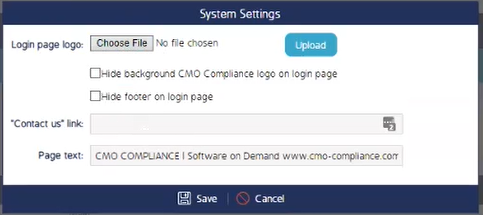
4. Choose the following fields for System Settings.
|
S. No |
Fields |
Description |
|
1 |
Login page logo |
Upload your company logo. Click on the choose file button and select the logo. Click the upload button. The logo size should be around 200-260 px. |
|
2 |
Hide the background CMO Compliance logo on the login page |
Checking the check box will hide the CMO compliance logo on the login page. (Not applicable for current version v17) |
|
3 |
Hide the footer on the login page |
Checking the check box will hide the footer on the login page |
|
4 |
Contact us link |
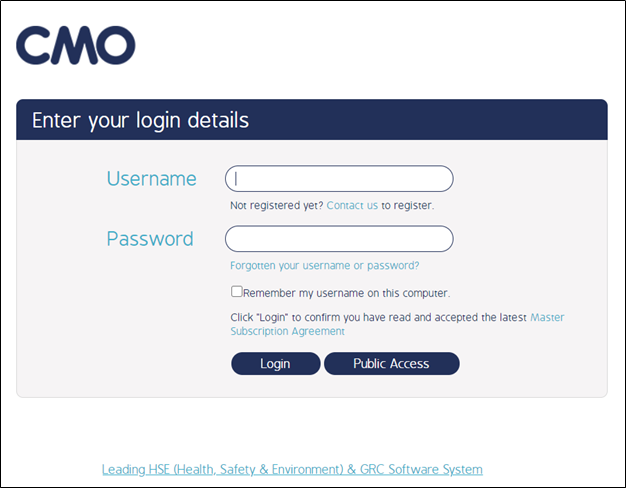
Provide a hyperlink in this field. The contact us link will be located below the user name on the login screen. |
|
5 |
Page text |
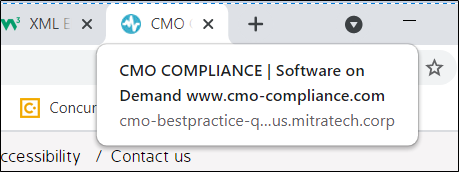
Provide the page text here so that the text will appear on each application page. The page text will be visible when the mouse has hovered on the page tab. |
5. Click Save.
Page Text
Login Screen
1.2 System Languages
If a company needs multi-language functionality, System Language functionality supports the company by importing multiple languages into the system. The CMO Services team makes the language pack available by placing the translated language packs on the customer server which allows the customer company to download the required language package.
1.2.1 Add languages to the system
- Login to the CMO application as a System Admin.
- Go to Admin > Business Rules > System Languages.
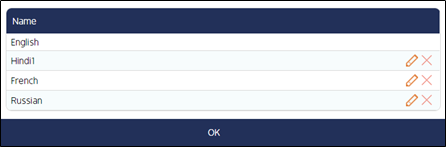
- A new System Languages window pops up.
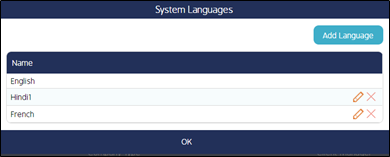
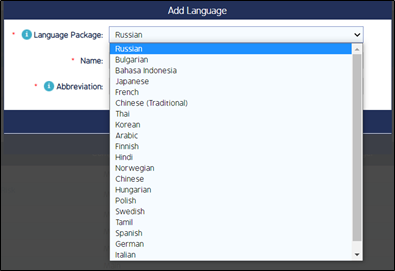
4. English is the default language which cannot be deleted or edited. Click Add Language button to import a new language into the system. A new window Add Language pops up.
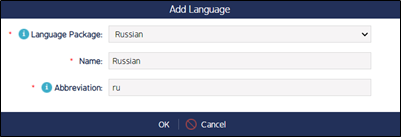
5. Choose the Language Package from the dropdown and give a name to the language. The super admin can also add an abbreviation to the language package.
6. Click Ok to add the language package to the system. The added language package can be edited or deleted using the pencil icon and the 'X' icon available for each added language.
1.3 Currency Settings
Some of the reports or functions require a currency conversion. CMO application allows the system admin to configure currency settings according to an organization's requirement.
1.3.1 Add Currency to the System
- Login to the CMO application as a System Admin.
- Go to Admin > Business Rules > Currency Settings.
- A new Currency pop-up window appears.
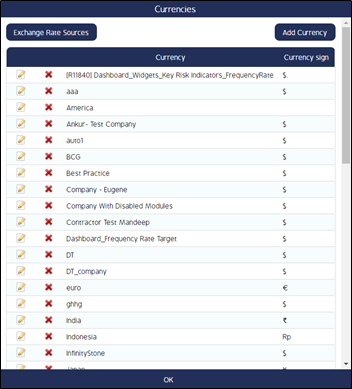
5. The currency in the aforementioned image has been added to the system. To add a new currency, click on Add Currency button.
6. A new Add Currency pop-up window appears.

7. Enter the values in the Currency Code and Currency sign fields and click Save to add the new currency to the already existing list.
Note:
- The correct currency code must be entered as per international currency code standards.
- The currency exchange will be updated on daily basis via openexchangerates web API integration with the CMO application which allows to convert the rates. The customers have to pay for the currency exchange unless the base currency is US dollar.
1.4 Create a New Company
The System Admin creates a new company.
1.4.1 Steps to Create a New Company
- Login to the CMO application as a System Admin.
- Go to Admin > Business Rules > New.
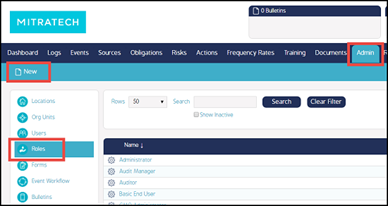
3. A new Create Company pop up screen appears.
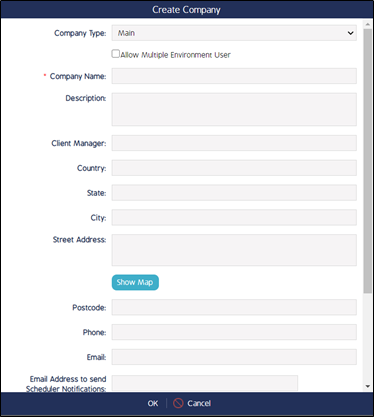
4. Enter the details in the required fields and click OK to create a new company.
5. The new company created will be populated in the list of companies under Business Rules.
1.4.2 Navigational Settings for a Company
- Login to the CMO application as a System Admin.
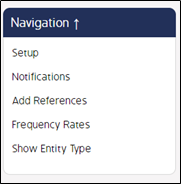
- Go to Admin > Business Rules. From the list of companies, click on a desired company to which the operational and navigational settings are to be assigned.
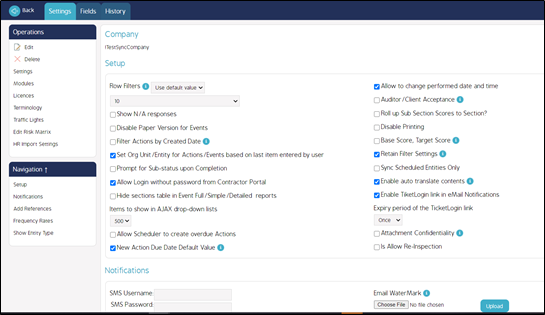
- The system redirects to a Settings page where navigational settings can be configured.
For more information on Navigation, Settings click here.
Note: To configure Operational settings for a company, the System Admin must manually click on the settings list available under the Operations section to the left of the page.
- The System Admin can enable settings by checking the checkboxes under the following navigational settings list.
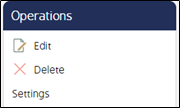
1.4.3 Operational Settings for a Company
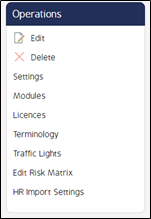
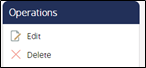
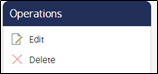
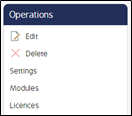
1.4.3.1 Edit
Using the Edit function, the user can edit the details of the already-created company.
1.4.3.1.1 Steps to Edit Company Details
- Click on Edit.
-
By clicking the Edit button, an Edit Company pop-up screen appears.

- Change/correct the details which are already existing and click Ok to save and exit the pop-up screen.
1.4.3.2 Delete
The user can delete the created company using the Delete function.
1.4.3.2.1 Steps to delete a Company
- Click on Delete.
-
A Message Window pop-up screen appears.
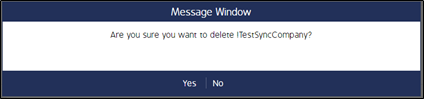
- The Message Window screen asks the user if they are sure they want to delete the company.
- Click the Yes button to delete the company and the No button to retain.
1.4.3.3 Settings
These are the global settings available for a company to get access to users according to the check box descriptions.
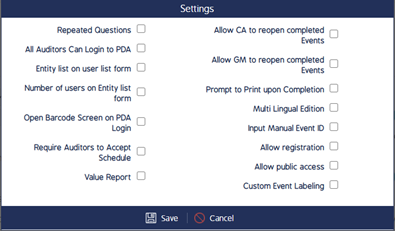
1.4.3.3.1 Steps to Apply Settings
- Click on Settings as shown in the following image.
-
A Settings pop-up screen appears.
|
S. No |
Fields |
Description |
|
1 |
Repeated Questions | An automatically Repeated Section is created for the Form and all Questions/Responses added to this section will be repeated during Perform Event when a user clicks on Next (next section) while staying on the "Repeated Questions" section. |
|
2 |
All Auditors Can log in to PDA | NA |
|
3 |
Entity list on the user list form | Enables/disables Entity column on all user grids. |
|
4 |
Number of users on the Entity list form | Enables/disables User count column on Entity List page. |
|
5 |
Open Barcode Screen on PDA Login | NA |
| 6 | Require Auditors to Accept Schedule | NA |
| 7 | Value Report | It shows/hides Value field on Event. |
| 8 | Allow CA to reopen completed Events | NA |
| 9 | Allow GM to reopen completed Events | NA |
| 10 | Prompt to Print upon Completion | Allows to prompt the user to print decal during the completion of Event in case current event sub status is in the list of "Passed" sub status. If the "Prompt to Print upon Completion" check box is checked then next to it "Select Sub Status" button appears. If the user clicks on it then the popup will appear with the list of available sub status. |
| 11 | Multi-Lingual Edition | Enables/disables multi-lingual functionality for CMO. |
| 12 | Input Manual Event ID | During the completion of an event, the system allows entering Form ID manually in case the current Event sub status is in the list of "Passed" stub status. This is similar to "Prompt to Print upon Completion". |
| 13 | Allow Registration | In theory should allow registering a new user/entity in the system using the following url: http(s)://<cmo web app url>/registration/<company id>. |
| 14 | Allow Public Access | Turn on/off public access to CMO. i.e. login/password is not required. CMO allows to create public dashboard with widget which will be available for public access. |
- Check the checkboxes in the list of available settings and click Save.
1.4.3.4 Modules
The global module settings are where each module can be enabled or disabled. Enabled modules will be available in the CMO application for a created company.
1.4.3.4.1 Steps to Enable Modules
- Go to Modules.
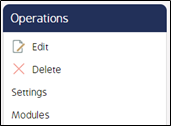
-
A Modules pop-up screen appears.
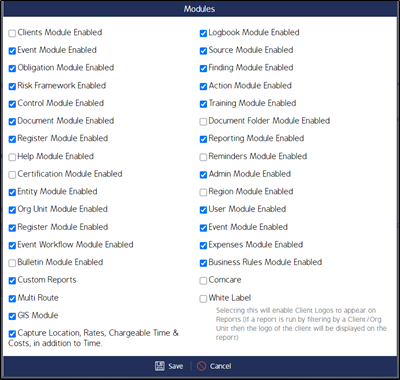
- Check the check boxes of the required Modules to be enabled from the available list. Click Save.
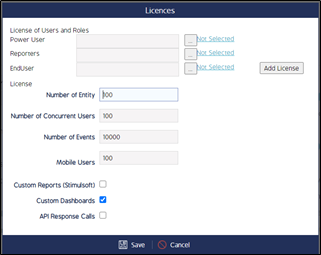
1.4.3.5 Licences
The user can define the number of Users with specific roles and the number of Entities, Concurrent Users, Events and Mobile users.
E.g. If the System Admin defines the number of Entities to be 100, then only 100 entities can be added to the application.
1.4.3.5.1 Steps to Add Licences
- Click on licenses.
-
Licences pop-up screen appears.
-
Enter the number of licenses available in the field for each license category per your Mitratech contract.
-
Add more license categories by clicking on the Add License button.

-
To add roles to the users, click on the Not Selected link.
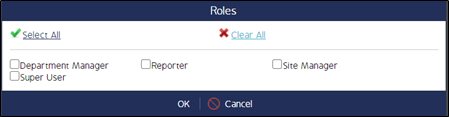
Note: When roles are assigned to license categories, the Not Selected name will be replaced with names of selected roles (short names).
- Check in the boxes of the roles to map to the users and click Ok. Click on Select All to check in all the checkboxes.
-
The checked roles will be mapped to the license category.
-
Click Save to save and exit the screen.
1.4.3.6 Terminology
The System Admin while creating the company or the Admin (created by System Admin) of the CMO application of the company can define their own names for the default terms (names of the fields) available in the CMO application as they would like them to appear.
1.4.3.6.1 Steps to Configure Terminologies for the Terms
- Click on Terminology.
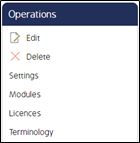
- A new Terminology pop-up screen appears.
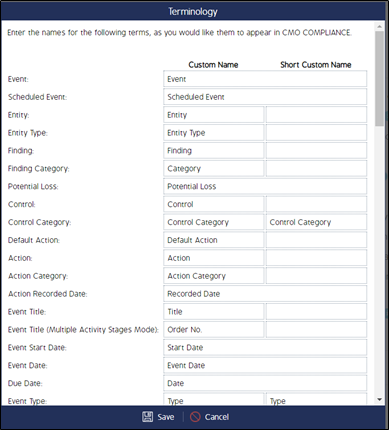
- Enter the desired names for the terms available in the left column in the Custom Name column. The user can also enter short custom names for the newly entered Custom Names in the Short Custom Name column (where applicable).
- Click Save.