Installing TeamConnect
WebDAV and WebLogic
If you use a WebLogic application server, it is important to edit the server's config.xml file to disable basic authentication. If basic authentication remains enabled, it interferes with WebDAV access and Screen Designer. A WebLogic login dialog pops up before the actual TeamConnect login dialog. End users confuse this WebLogic dialog with the TeamConnect one and enter TeamConnect credentials into it, which causes errors.
Disabling basic authentication prevents this first dialog from appearing and the end user sees only the TeamConnect login dialog.
Note for Screen Designer Users: For WebLogic 9.2+, update the config.xml file in weblogic server to allow screen designer to connect by adding the <enforce-valid-basic-auth-credentials> element to config.xml within the <security-configuration> element as shown below. Restart the WebLogic Server and all node managers. (To access the config.xml, navigate to domains/base_domain/config/config.xml)

Introduction
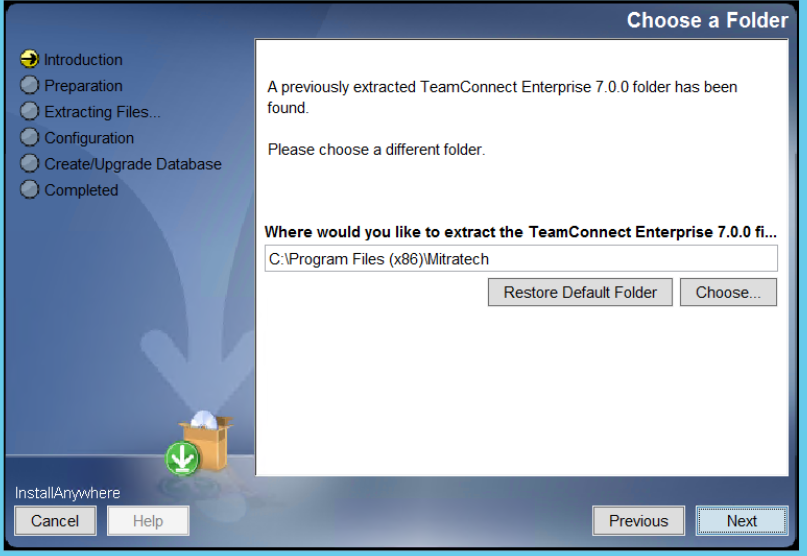
The TeamConnect Enterprise installer can be run repeatedly. On the very first run of the installer, you must choose "Extract files to install or upgrade TeamConnect Enterprise." On any subsequent runs of the installer, you can choose "Continue using previously extracted files." Normally you would want to use the previously extracted files, because they contain information (such as configuration values) that is customized to your installation. However, you may still choose "Extract files to install or upgrade TeamConnect Enterprise." If you do, you can run the installer as if you were running it for the first time.
Configuration
On this screen, you tell the installer how to modify TeamConnect Enterprise's configuration files. Your choice will vary depending on whether you have an existing version of TeamConnect Enterprise already installed, and whether that version is the current version or an older one. If there is no existing version of TeamConnect Enterprise, choose "Manually Configure TeamConnect Enterprise" and fill out the configuration information in screens that appear later. If there is an older version of TeamConnect Enterprise installed, and you want to use the configuration information that is contained in that older version, you have two choices. You can choose "Import Settings (from .war archive)" or "Import Settings (from .xml or .properties files)", depending on which kind of file is available from the older version. The installer will read those files and will extract their configuration information. That information will appear in a series of screens that appear later, and you have the opportunity to accept the existing values or to edit those values. If there is an older version of TeamConnect Enterprise installed, and you don't want to use the configuration information that is contained in that older version, choose "Manually Configure TeamConnect Enterprise", then fill out the configuration information in screens that appear later. If there is a current version of TeamConnect Enterprise installed, and you are simply re-running the installer, your choice depends on what you did during the earlier run of the installer.
If you already filled out configuration information in the earlier run, and you don't need to change anything, choose "Skip this step".
If you did fill out configuration information in the earlier run, but you now want to change some of the information, choose"Manually Configure TeamConnect Enterprise", then fill out the configuration information in screens that appear later.
If you did not fill out configuration information in the earlier run , choose "Manually Configure TeamConnect Enterprise", then fill out the configuration information in screens that appear later.
Running the Installer
In order to run installer you should have JDK installed on the machine you are running installer and should have JAVA_HOME in classpath.
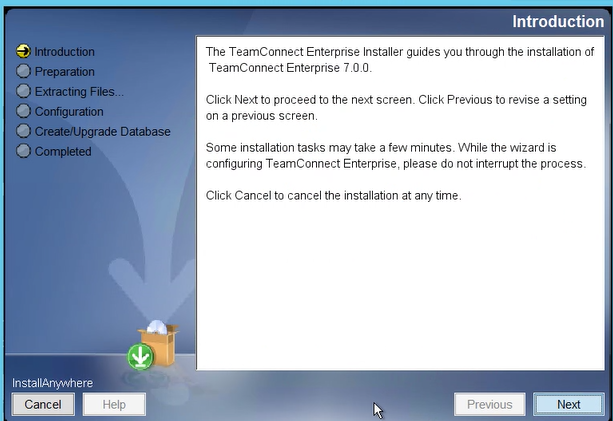
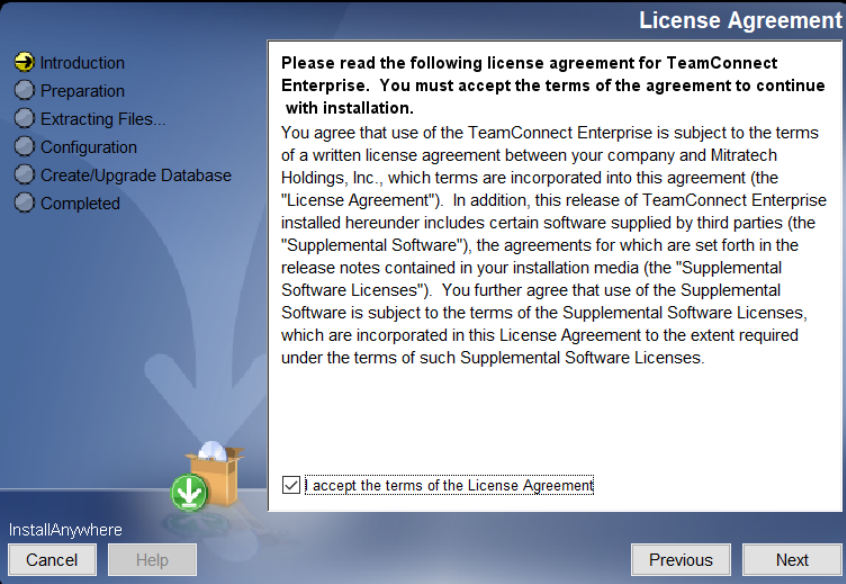
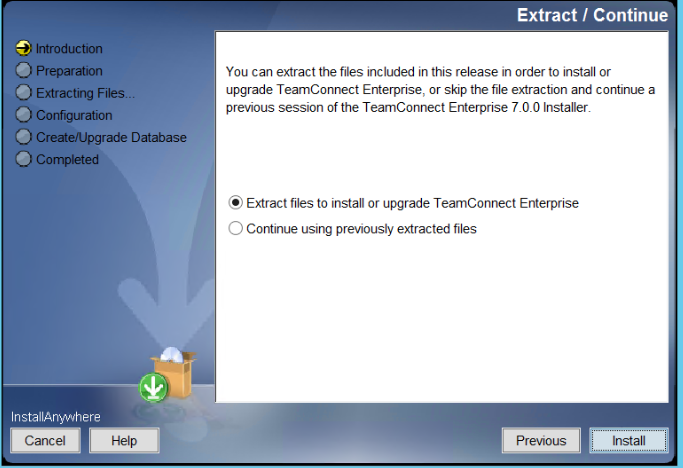
This step will extract all the artifacts associated with the installer.
If you have already extracted these artifacts you can point installer to previously extracted location.
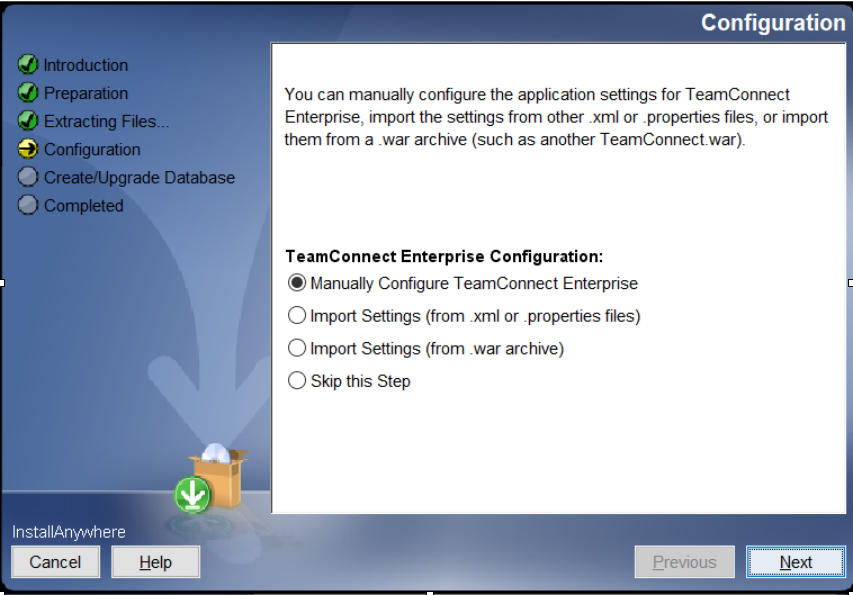
Manually Configure would let you walk through all the properties and add them manually to update the ear/war extracted by installer.
Import Settings would add the properties file and web.xml to installer and generated the ear/war based on uploaded files. Note: between major upgrades there will be changes in properties file. Addition of new properties or removal of old properties.
Import Setting from war will take war file as input and will extract required information.
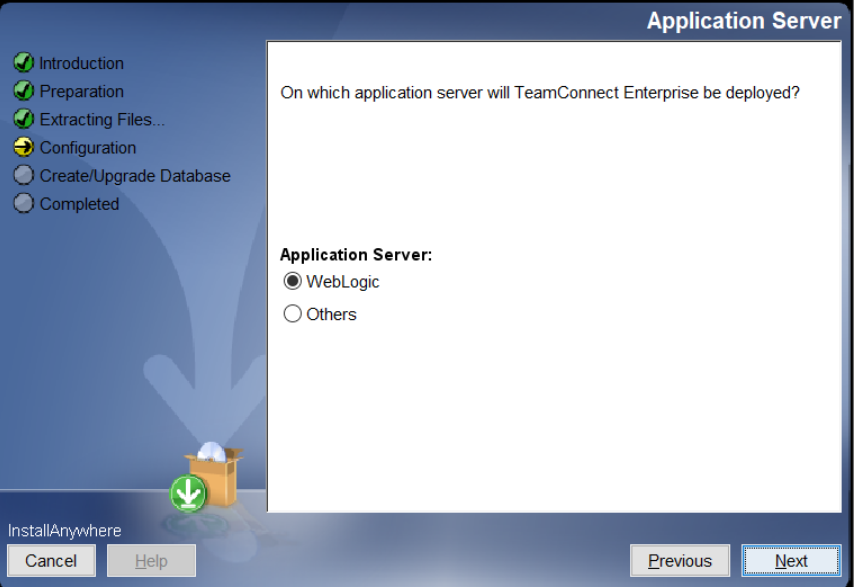
TeamConnect supports Weblogic, Tomcat and Websphere. Pick appropriate application server.
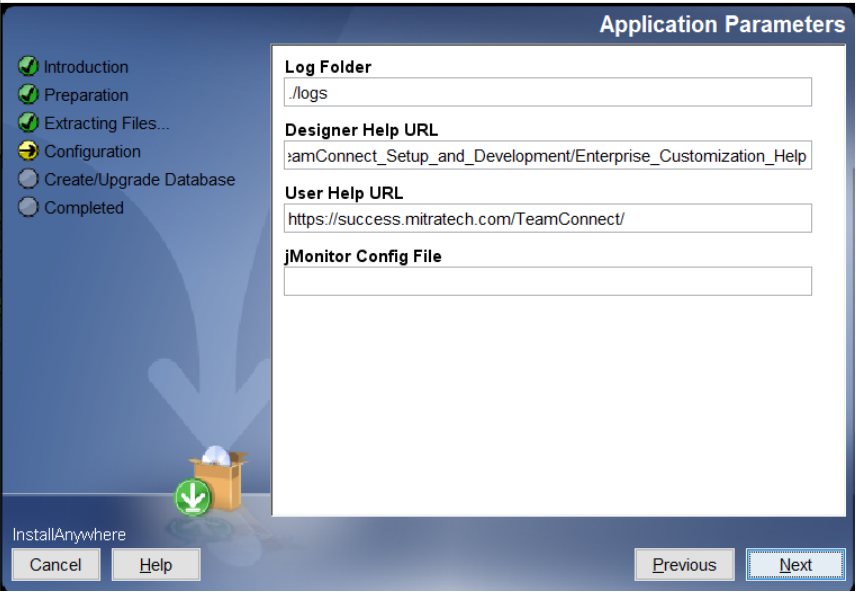
Log Folder – Physical path for log files in app server location
jMonitor – location of jMonitor file configuration to be written. Physical location in Appserver
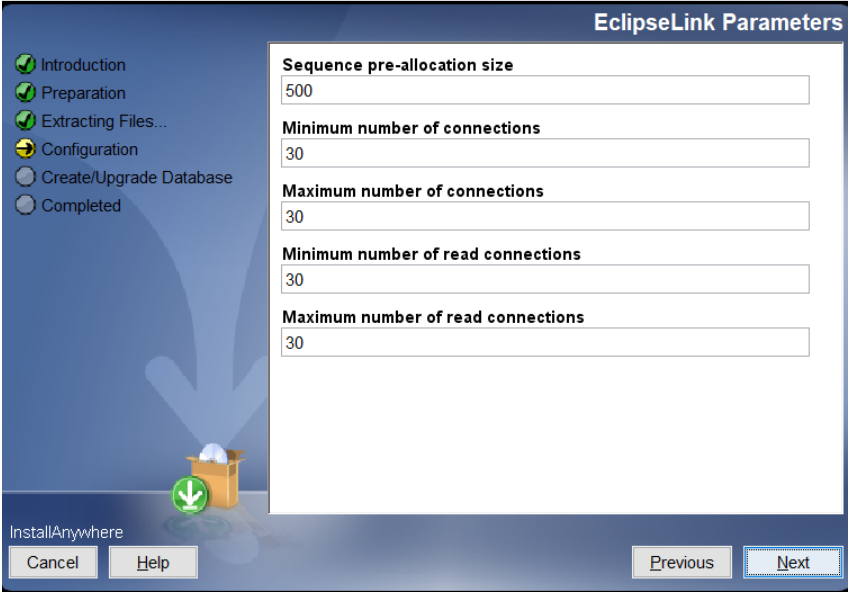
Eclipselink properties. These properties can be accepted as default.
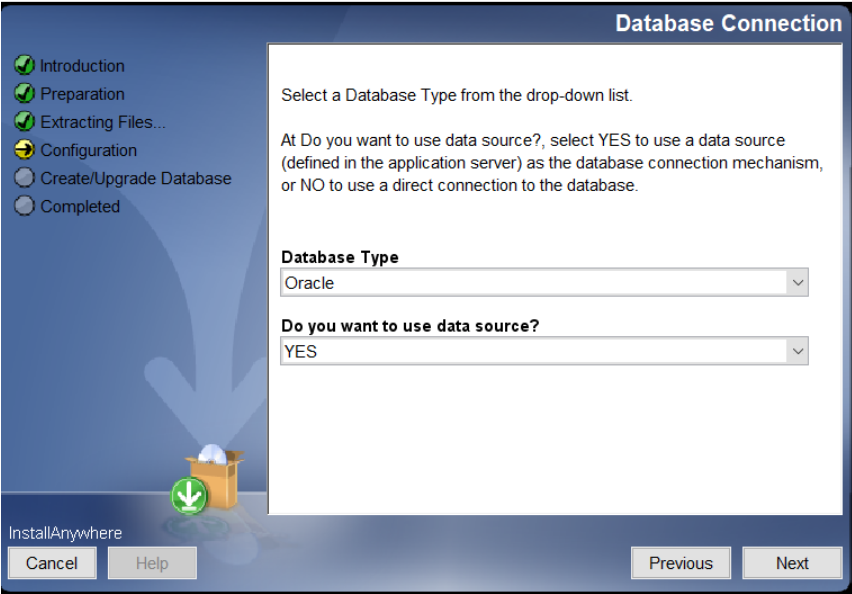
If Datasource is selected next screen will guide you in adding datasource name.
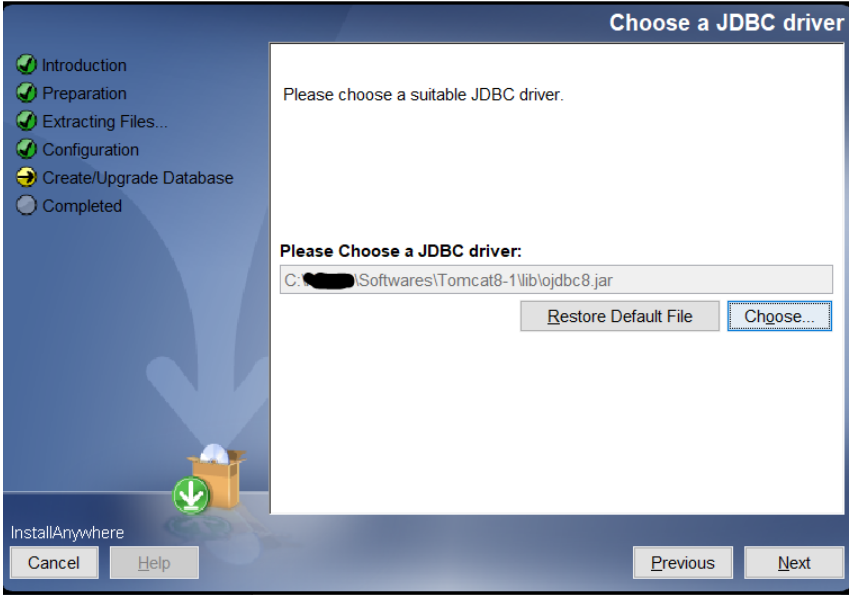
If using direct connection to database you will be guided to add database details in the next screen
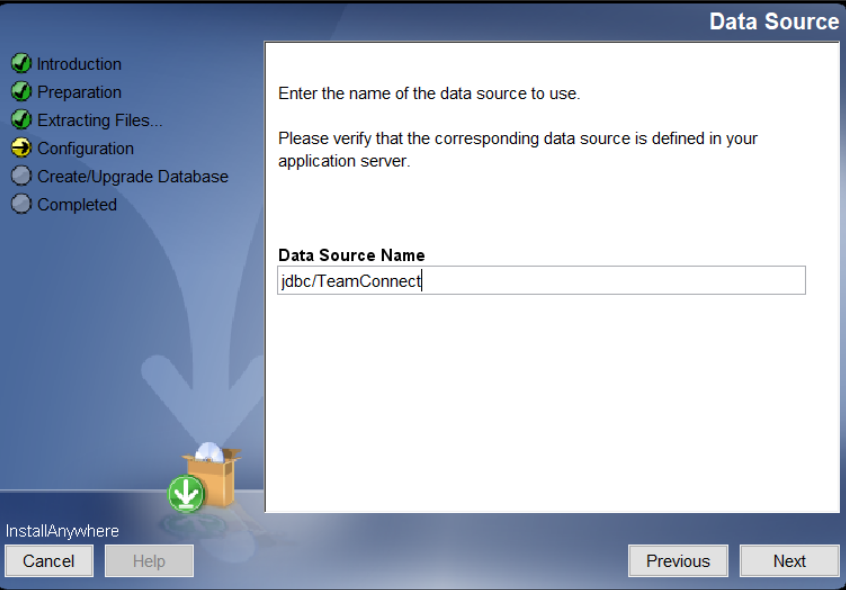
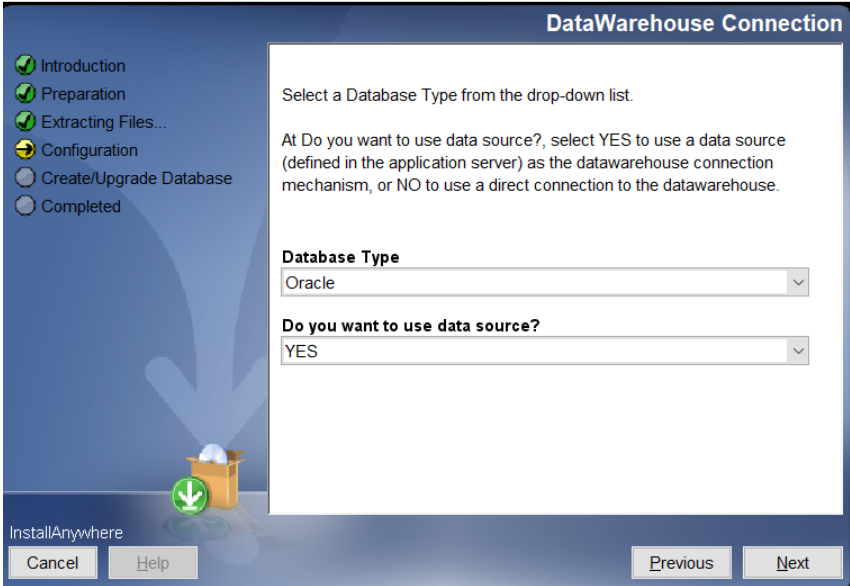
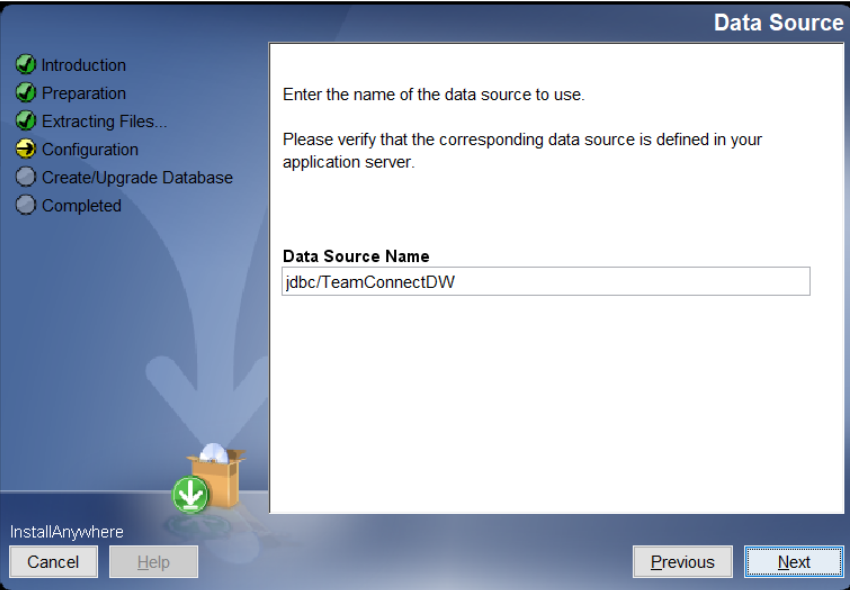
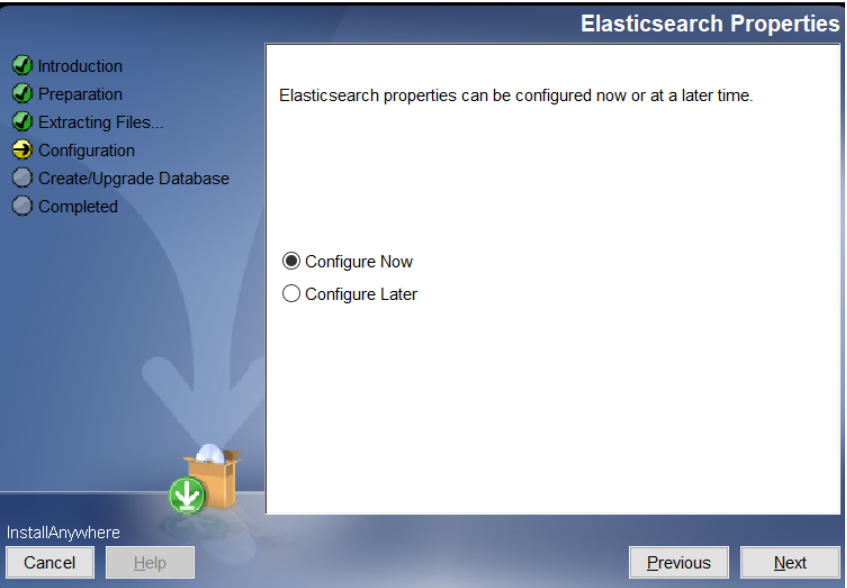
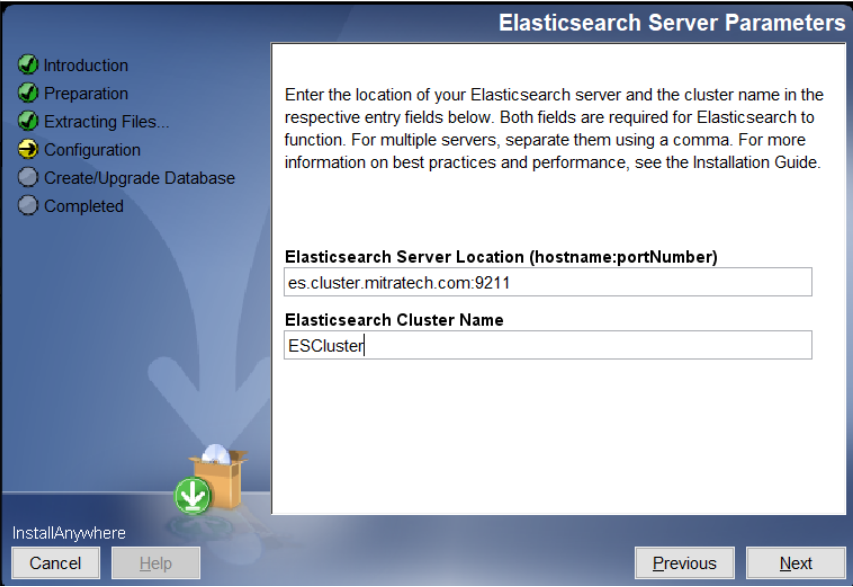
ES server location – hostname:portnumber for ES server
ES Clustername – Unique name for ES CLuster
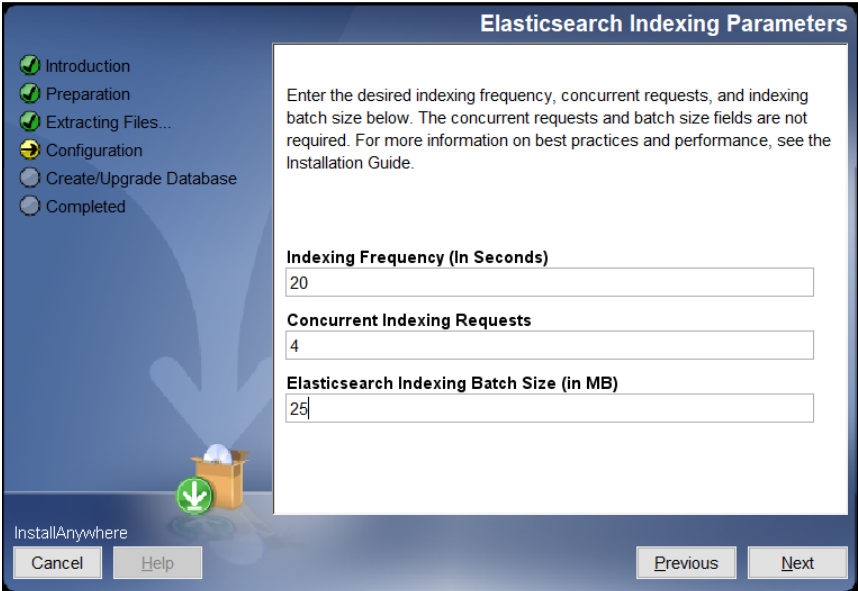
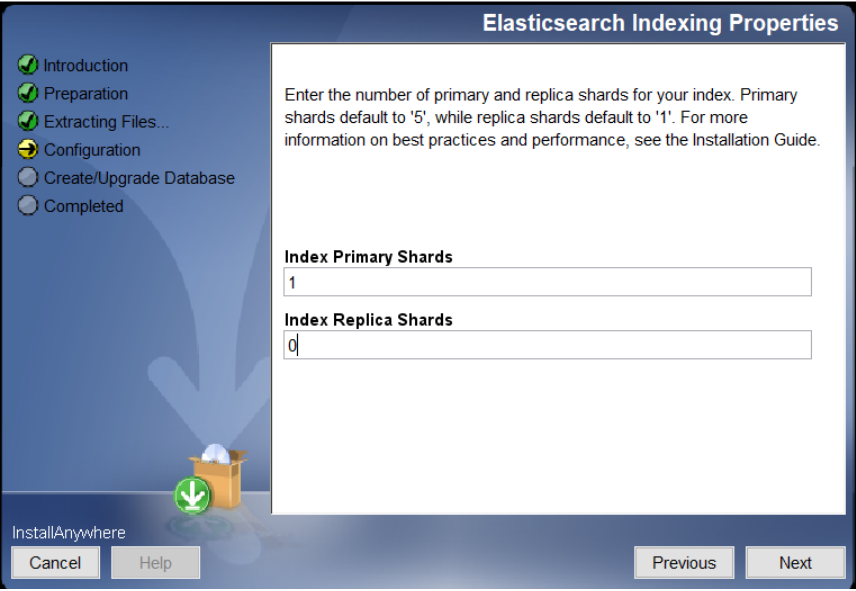
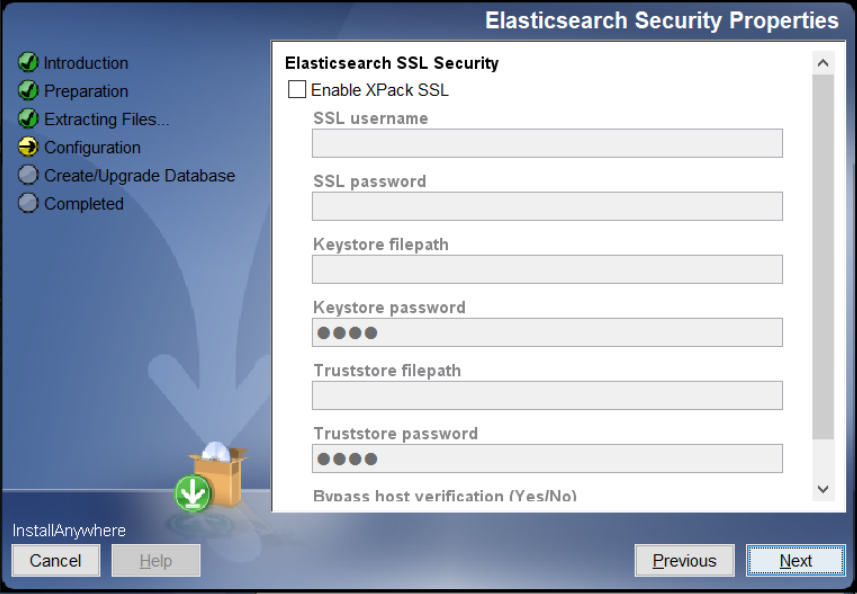
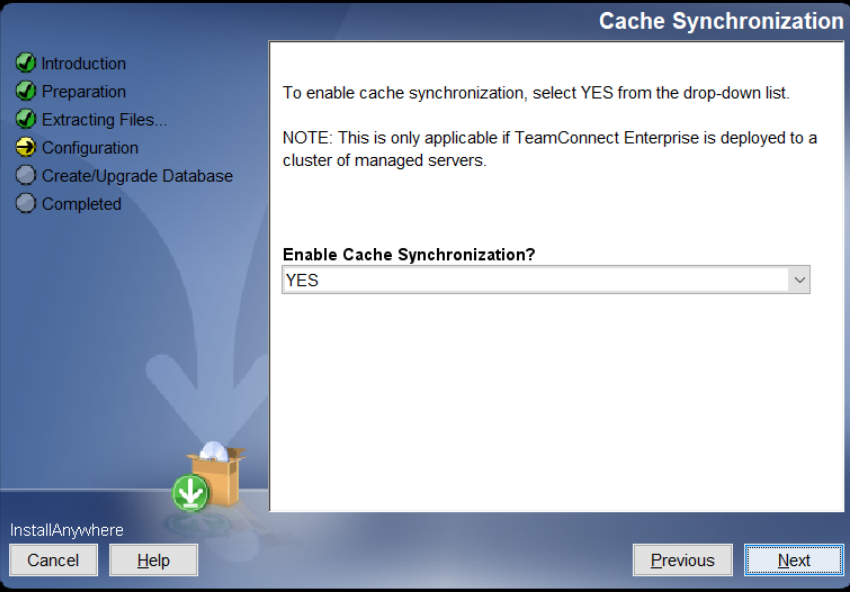
If you are using a cluster to deploy application you will have to add properties in the next screen.
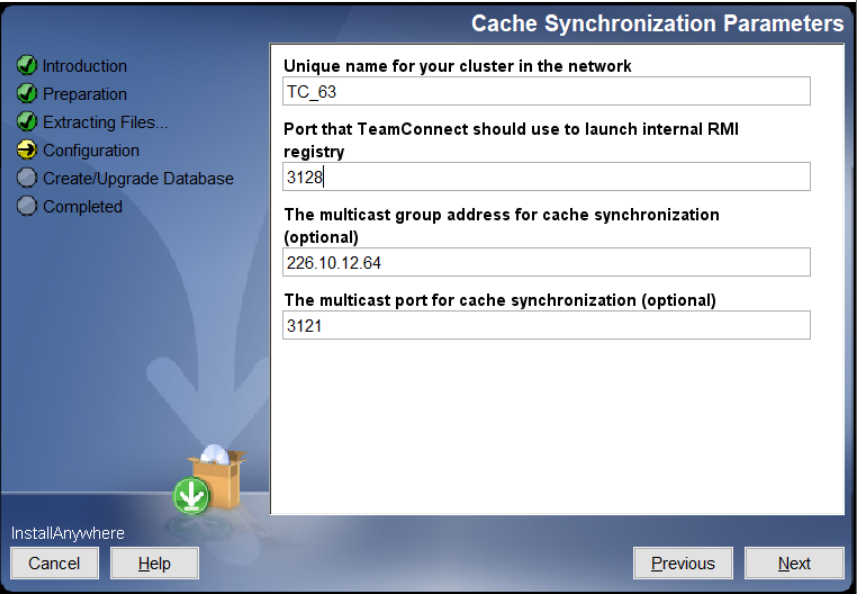
Unique Name – This name will be unique for each deployment. If you have Test and Prod pick different names for each installation.
RMI Port – If you a horizontal cluster adding one port should be sufficient. If you are a vertical cluster where you have two teamconnect application’s running on the same server to avoid port conflict you can specify range so that application will pick available port in range. Ex: 3128-3130 These ports are inclusive meaning 3128, 3129 and 3130
