
Step 4b: Adding Detailed Invoices
If you are adding a detailed invoice, the page after you assign an invoice to a matter record is the Detailed Invoice page. Unlike the summary invoice, a detailed invoice allows you to enter a control amount and add line items for hours worked vs rate and cost adjustments.
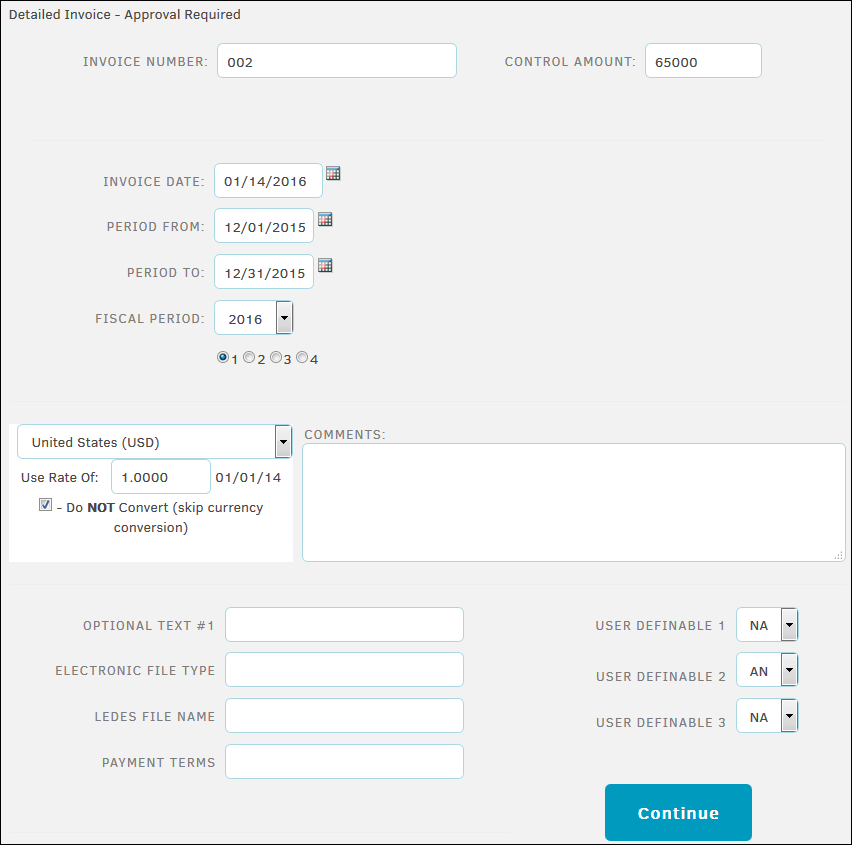
- Enter the invoice number. The number can be any combination of letters, numbers, and dashes, up to 35 characters.
Use the Tab button on your keyboard to move to the next text field. Doing so prompts the page to save and perform a duplication test to make sure the invoice number is unique.
- If there is a control amount, enter it in the space provided. If the administrator has set the feature to “must match”, the application requires the sum of all line items on the invoice to match the control amount entered, and does not display the Finish link on the last page until the amounts match.
Important: When entering monetary amounts, do not use the currency symbol or commas. Enter all amounts as a series of numbers with only a period to separate the units (e.g. 10000.00).
- Use the
 icons to select the invoice date, the billing period using the "Period From" and "Period To" fields, and the "Fiscal Period" year and quarter if necessary.
These fields default to the current date for the invoice date, the previous month for the billing period, and the current fiscalY and fiscal quarter.
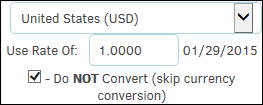
- Review the currency information. The currency field defaults to the law firm’s currency, at the current exchange rate. If desired, select a different currency from the drop-down menu. Check the Do NOT Convert box if you want to skip currency conversion. The currency conversion is displayed on the next page, below the line item data fields, and is converted to the base currency set in Application Administration.
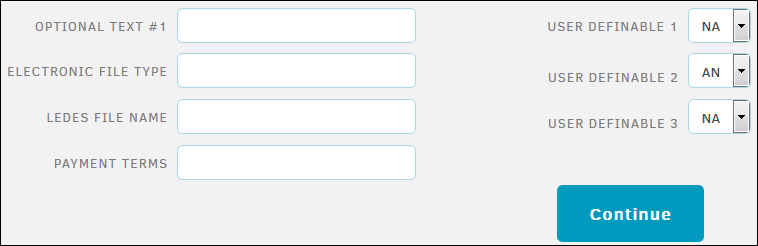
- Enter Optional Text, Electronic File Type, and LEDES File Name in the designated fields.
- Click Continue.
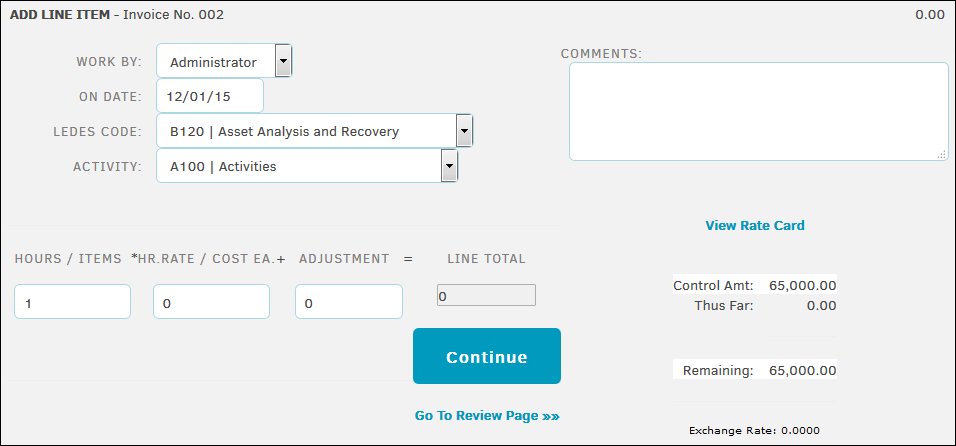
The next step is to enter each line item.
- Select the employee who performed the work from the "Work By" drop-down menu.
- Enter the date the task was performed.
- Choose the "LEDES Code" and "Activity" code from the drop-down menus.
- Enter the number of hours (e.g. 1, 1.25, 1.5, 1000) or items (for an expense/disbursement) and the hourly rate/cost of each item, and any applicable adjustments. If you are unsure of the rate, click the View Rate Card hyperlink in the bottom right corner to display the employee or firm rate information.
- Place a check mark in the Add Another Line After This One checkbox to add another line item.
- Click Continue.
If you are on the Add Line Item page again and you wish to review the invoice details before adding another line item, click the Go To Review Page hyperlink. - When you have finished adding your line items, click Continue to review the invoice details.
If you find an error while reviewing the invoice data, click  to remove the item or
  to edit it.
You also can click the Add Another Line Item hyperlink to add another charge without deleting the existing line items.
Click Add Another Matter to add the same invoice to another matter record.
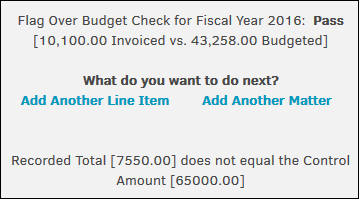
If the invoice totals don’t fall within the approved budget for the firm or vendor, and the flag feature is turned on, a notice indicates that the invoice has Failed. You may then click to delete line items, if desired. When the sum of the invoice falls within the fiscal year budget, the indicator changes to Pass. Likewise, if the recorded invoice total is not equal to the control amount entered, and the administrator has set the feature to “must match”, a notice replaces the Finish button and the invoice cannot be processed until the line items are adjusted.
For information on chargebacks, refer to the Adjusting Division/Business Unit Chargebacks instructions.
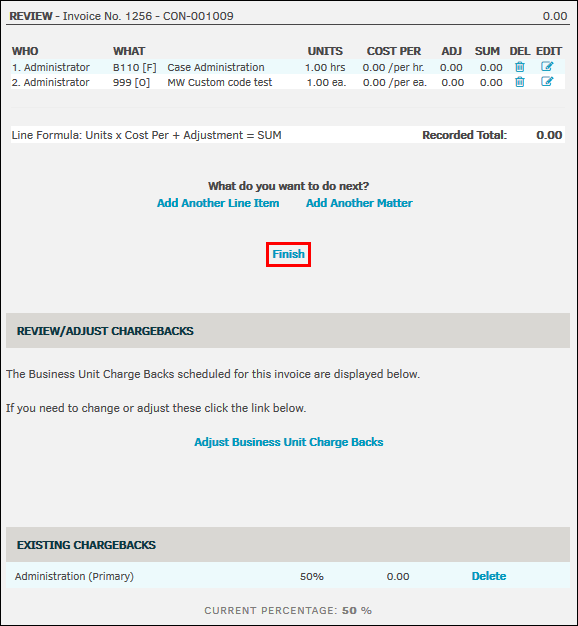
Upon clicking Finish, you have additional quick link options to create a new invoice with a new vendor, new invoice with the same vendor, or view the invoice recently completed.
