
How to Assign Teams and User Roles
This article provides instructions to add a team and a counterparty to the agreement, and to assign user roles to your team.
You can assign a team and a counterparty during the following stages:
- When creating the agreement
- During the agreement drafting
- Some frameworks automatically assign the counterparty
How to Create a New Team
To create a new team, follow these instructions. See user roles for more information.
-
Enter the user's email in the box next to

 .
. -
In the dropdown list, select the option that applies.
| Option | Result |
|---|---|
| View all sections | Make all sections visible to the user. The user can make comments but cannot edit anything in the agreement. |
| Negotiate all sections | The user can see, edit and make comments on the agreement. |
| Custom assignment | - Click Next. - Click Yes to save the changes. |
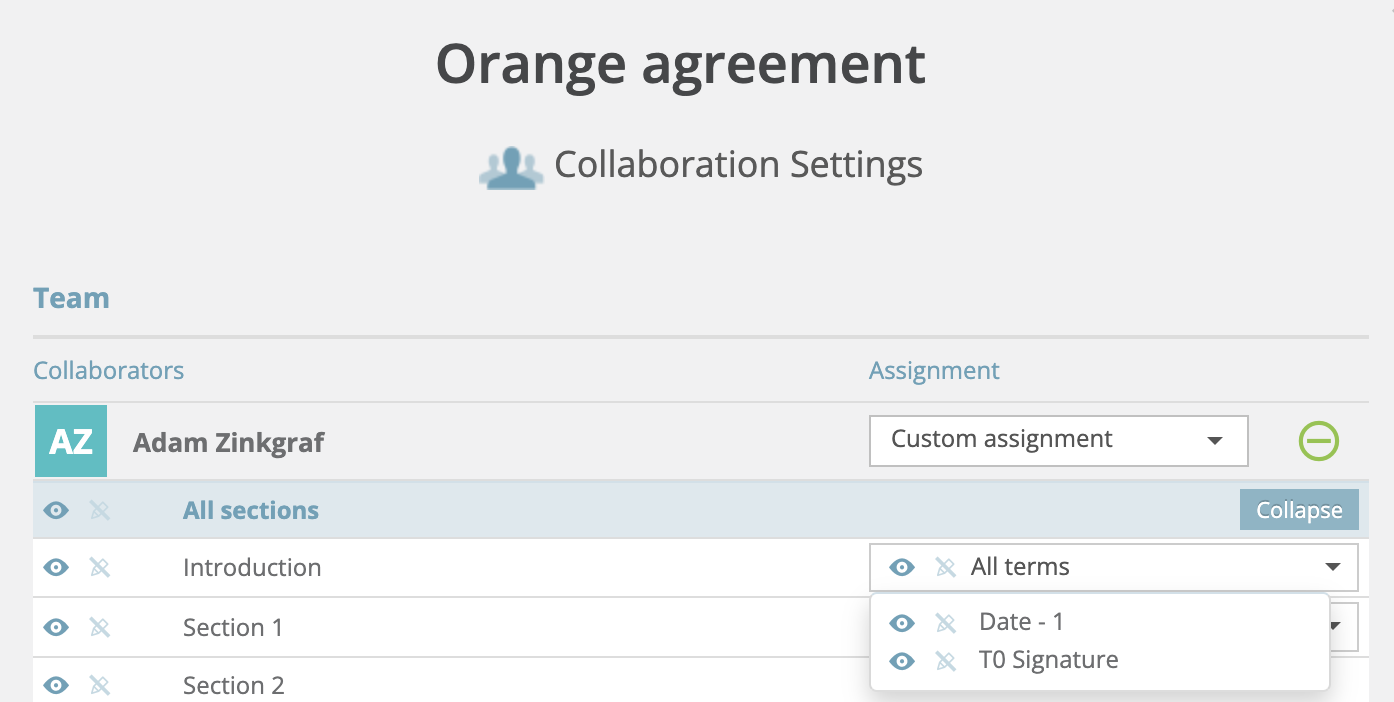
How to Configure Custom Assignment
To configure custom assignment, follow these instructions.
-
Click

 > Edit My Team.
 -
Click Expand.

-
Configure the customized permissions for the user.
| Option | Steps |
|---|---|
| View a section |
- Select the eye icon next to the section.
|
| Hide a section |
Deselect the eye icon next to the section.
|
| Edit a section |
Select the eye and pencil icons next to the section.
|
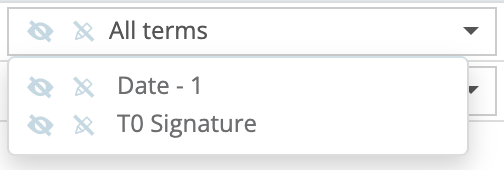
| View a tag |
- Set permissions to view the tag's section.
|
| Hide a tag |
- Set permissions to view the tag's section.
|
| Edit a tag |
- Set permissions to view the tag's section.
|


How to Assign a Communication Owner
A communication owner acts as an intermediary between the counterparty and team 0. By default, the controller is the communication owner. The communication owner role is available for frameworks with that option enabled. Follow these instructions to configure a communication owner.
-
Click
> Edit Communication Owner. -
On Reassign Communication Owner, select the option that applies.
| Option | Result |
|---|---|
| From my team | You can assign the role of communication owner to anyone in your team |
| Add manually | Enter the email of the communication owner. The email doesn’t need to belong to an account in EraCLM. |
- Click Reassing.
How to Assign an Acceptor
The controller and the counterparty can assign acceptors during agreement acceptance.
- Click View Acceptors > View Team.
- Enter the email twice in the boxes, then click on the plus sign.
- Check that the user has been added as acceptor, then click Close.
How to Assign a Signer
The controller and the counterparty can assign signers during agreement signing.
- Click View Signers > View Team.
- Enter the email twice in the boxes, then click on the plus sign.
- Check that the user has been added as signer, then click Close.