Indexing Studio Watched Folders
Indexing Studio provides watched folder functionality which enables the user to copy documents to the designated folder. Indexing Studio will then check the watched folder periodically and import the files found there. Watched Folders are configured with an Import Interval and can be associated with a Data Definition.
Caution: Documents should be copied to the Watched Folder, not moved there. After Import, all files in the Watched Folder are deleted. Make sure you use copies of documents so the originals are not deleted.
To configure watched folders, follow these steps.
- First, create the folder(s) you will use as Watched Folders. In this example, a folder has been created named Watched Folder Bank Statements.
- In Indexing Studio, click on the Application’s icon in the top left corner of the window and select Configure Watched Folders.
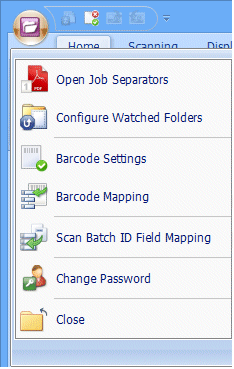
- The Watched Folders window is displayed.
- Click Add Folder.
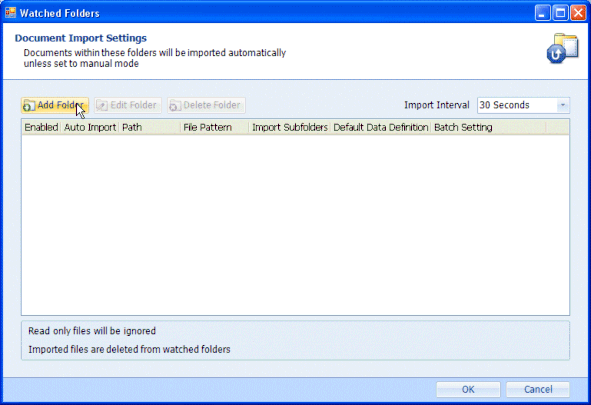
- The Watched Folder Settings pane is displayed.
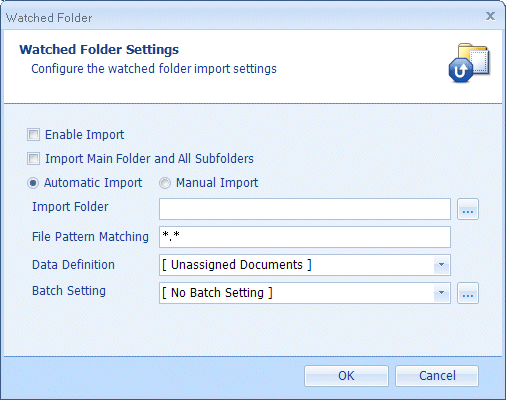
- A new entry is displayed with Enable Import cleared. Select Enable Import to make this Watched Folder active. If Enable Import is left cleared, the configured Watched Folder is not active and if any files are put in the inactive Watched Folder, they will remain there until Enable Import is selected.
- If required, select Import Main Folder and all Subfolders. However, in this example there are no subfolders so leave it cleared.
- Choose either Automatic Import to automatically import files from the configured folder whenever the configured interval has passed or Manual Import to import files from the configured watched folder only when a user chooses to do so. In this example, select Automatic Import.
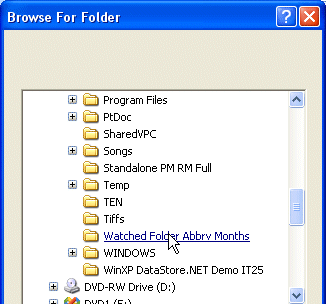
- Click the … button to browse to the required Watched Folder, then click OK.
- If required, edit the File Pattern Matching, The File Pattern Matching defines the files Indexing Studio will import. For example: *.txt will import all text files in the folder; *.* will import any file that is placed in the folder; statement*.txt will import all text files with a file name starting with ‘statement’. In this example, enter *.txt.
- Select a Data Definition from the drop-down list. In this example, select Statement.
- If required, configure the Batch Settings for the watched folder. In this example, leave it at the default, [ No Batch Setting ].
- Click OK to save the setting.
- Set the Import Interval from the drop-down list. This interval is applied to all Watched Folders which are configured to automatically import files.
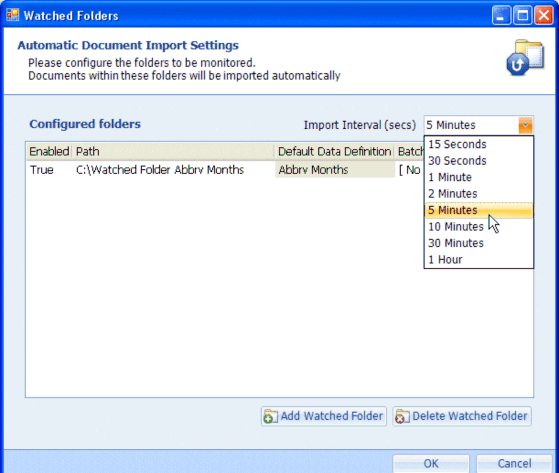
- Repeat these steps to add further Watched Folders, as required.
- Click OK to exit the Watched Folders window.
- Each time the Import Interval expires, Indexing Studio checks the automatic Watched Folders and, on finding documents, imports them against the associated Data Definition and Batch (if configured). Imported documents are then deleted from the Watched Folder.
Note: Read-only files are ignored – they are not imported into Indexing Studio.
- If the option Index document content fields on import is selected, the Content Fields are automatically indexed. You now need to store the imported files, see “Storing Documents”
- If the option Index document content fields on import is cleared, you must now Index the fields, see “Indexing Documents”

