
Installation Guide
Installation instructions for the CMO Data Warehouse.
The instructions below detail how to install the Data Warehouse (DWH) on CMO Compliance version 17. If you run into any issues, please contact support via your online support portal.
Assumptions:
- This is the first time you're installing Data Warehouse - meaning you are not upgrading from a previous version.
- The Data Warehouse administrator should have an understanding of PowerShell.
- The Data Warehouse administrator has database administration experience, is familiar with installation and configuration of MS SQL Server, and can configure folder security in Windows.
Installation Instructions
Follow the instructions below to install Data Warehouse Business Intelligence (DWBI).
- Acquire the Data Warehouse zip file. The file will read as CMO_DataWarehouse_XX.zip where XX represents the current version.
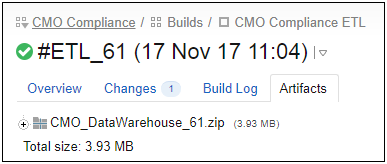
Ensure the DWH version and CMO version are aligned - Contact your CMO Administrator for questions about DWH versioning.
- Unzip the DWH file in a folder that will be designated for the Data Warehouse.
The DWH application automatically provides access to this folder, as needed, by adding the "SQLSERVERAGENT" account to the folder.

- Using the SQL Server installation media, verify or add the following features to your SQL Server Instance.
- SQL Server Replication
- Integration Services
Note: Run the SQL Server setup.exe and inspect the currently installed features to check if SQL Server Replication and Integration Services are already installed.

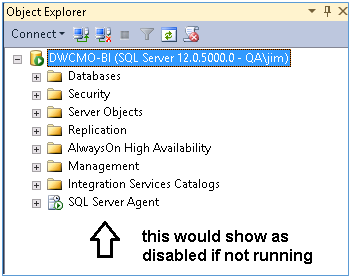
- In SQL Server Management Studio (SSMS), verify the SQL Server Agent is running. CMO recommends the agent be set to 'automatically start'.
- Create a new distribution in SSMS (if not already created).
Right click Replication and select Configure Distribution. Use the default settings for all options and click Finish.
- Each database created by DWH needs a username and password. Configure username(s) and password(s) for each database (Replication, Staging, and DWH) in SSMS and edit the Properties file with the appropriate values.
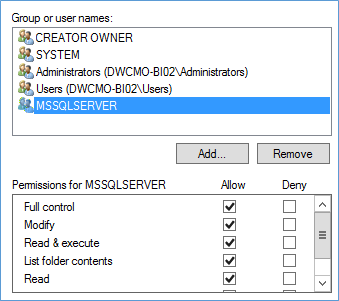
- Add the "NT Service/MSSQLSERVER" accounts to the following SQL Server instance folders:
Add the NT SERVICE\MSSQLSERVER account to the <MS SQL Server install folder>\DATA folder. Provide all permissions to the folder.
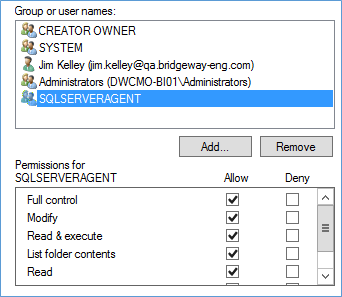
Add the NT SERVICE\SQLSERVERAGENT account to the <MS SQL Server install folder>\repldata folder. Provide all permissions to the folder.
Add the "NT Service/MSSQLSERVER" account and grant All Folder permissions to the user.
- From the DWH installation package, modify the dw_properties.ps1 properties script to match your environment. For example: <CMO DWH Installation Folder>/dw_properties.ps1.
Note: This file can be edited with a standard text editing application.
- Open a Powershell command prompt, navigate to the script, and execute the Powershell dw_properties.ps1 script.
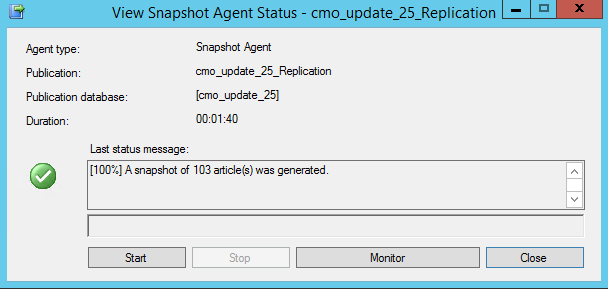
- Check the status of the installation in SSMS by right-clicking on the Replication Publication and selecting View Snapshot Agent Status.
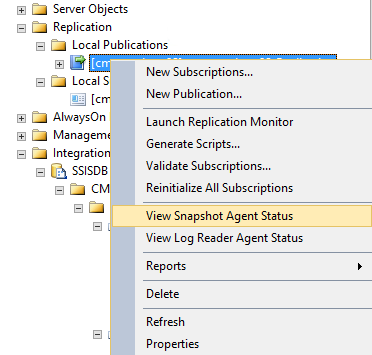
The status should read 100%.
11. Ensure the DWH _VersionInfo table is aligned with the deployed DW version.