
Configuring Type / Categories to Responses
Summary
After completing this how-to you will have the ability to Configure Type / Categories to a Form Response.
Steps to follow
Begin by creating a Draft of the Form you wish to Configure Category / Types to Responses. From here select Cog wheel > Edit, this will open a new Window. There are 2 buttons 'Add Multiple Types' & 'Add Multiple Categories', upon selecting each button we will be presented with a new Window. The Windows allow us to enable Categories / Types to be available to configure Responses to. Simply hit the relevant button and Highlight the the Categories / Types followed by using the 'Add' button. 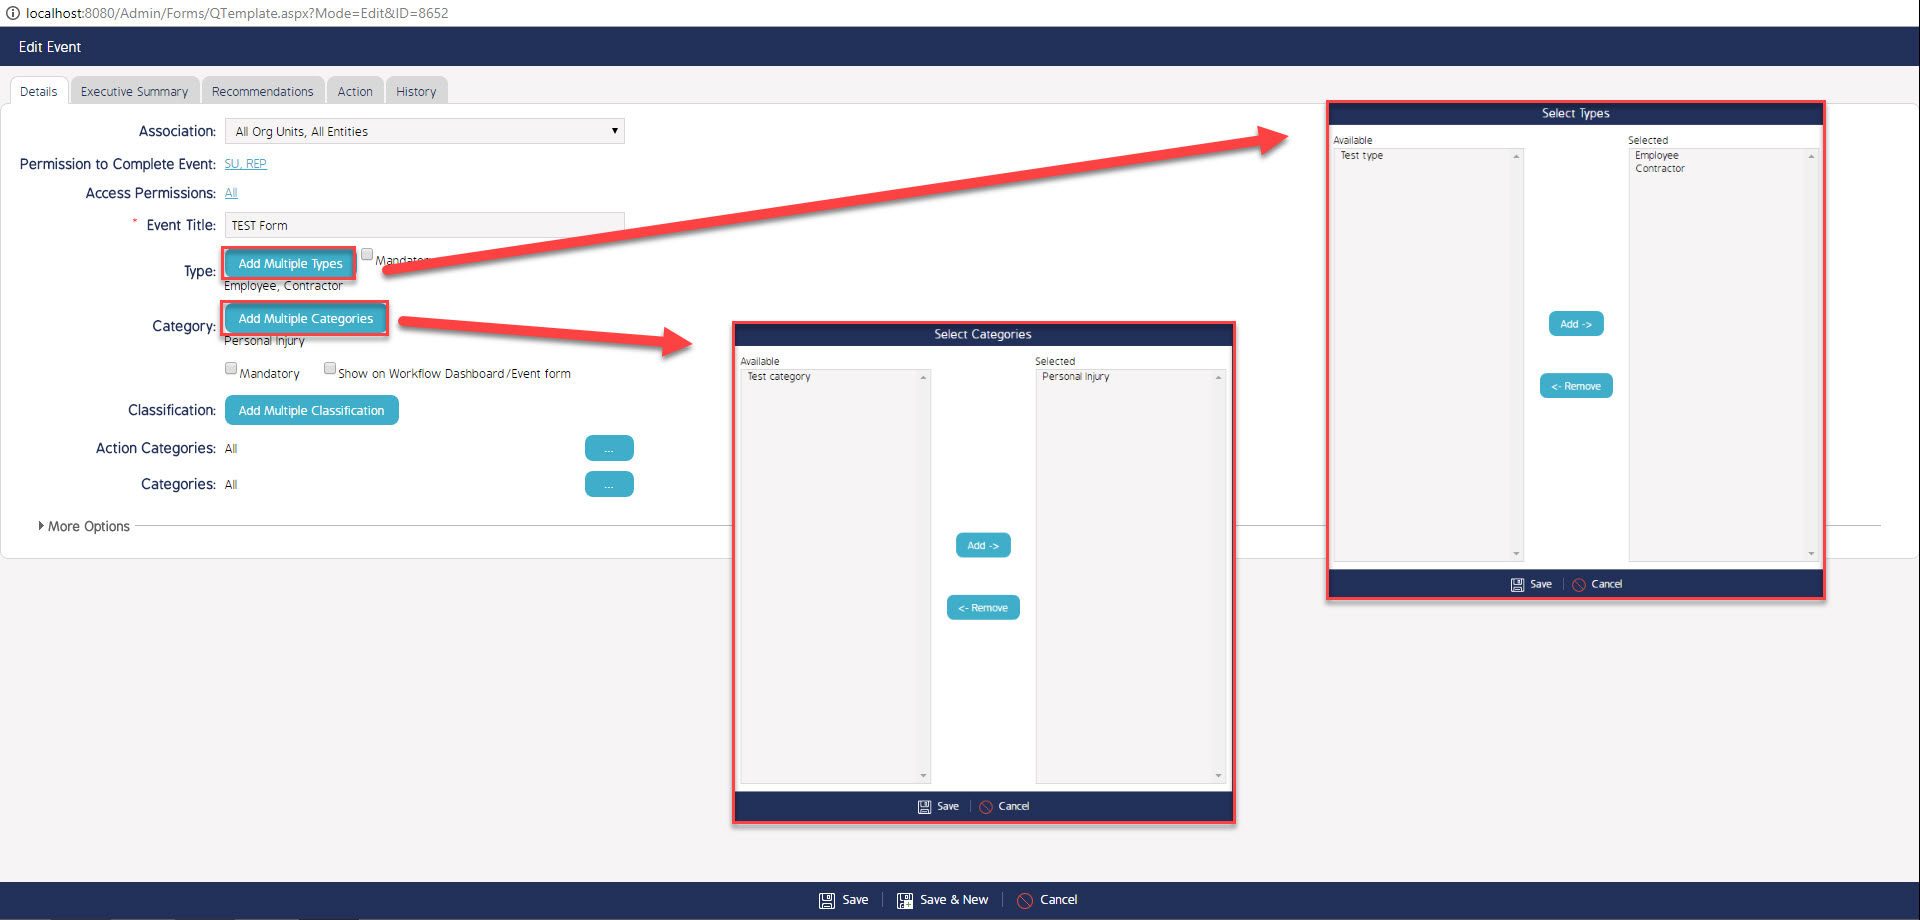
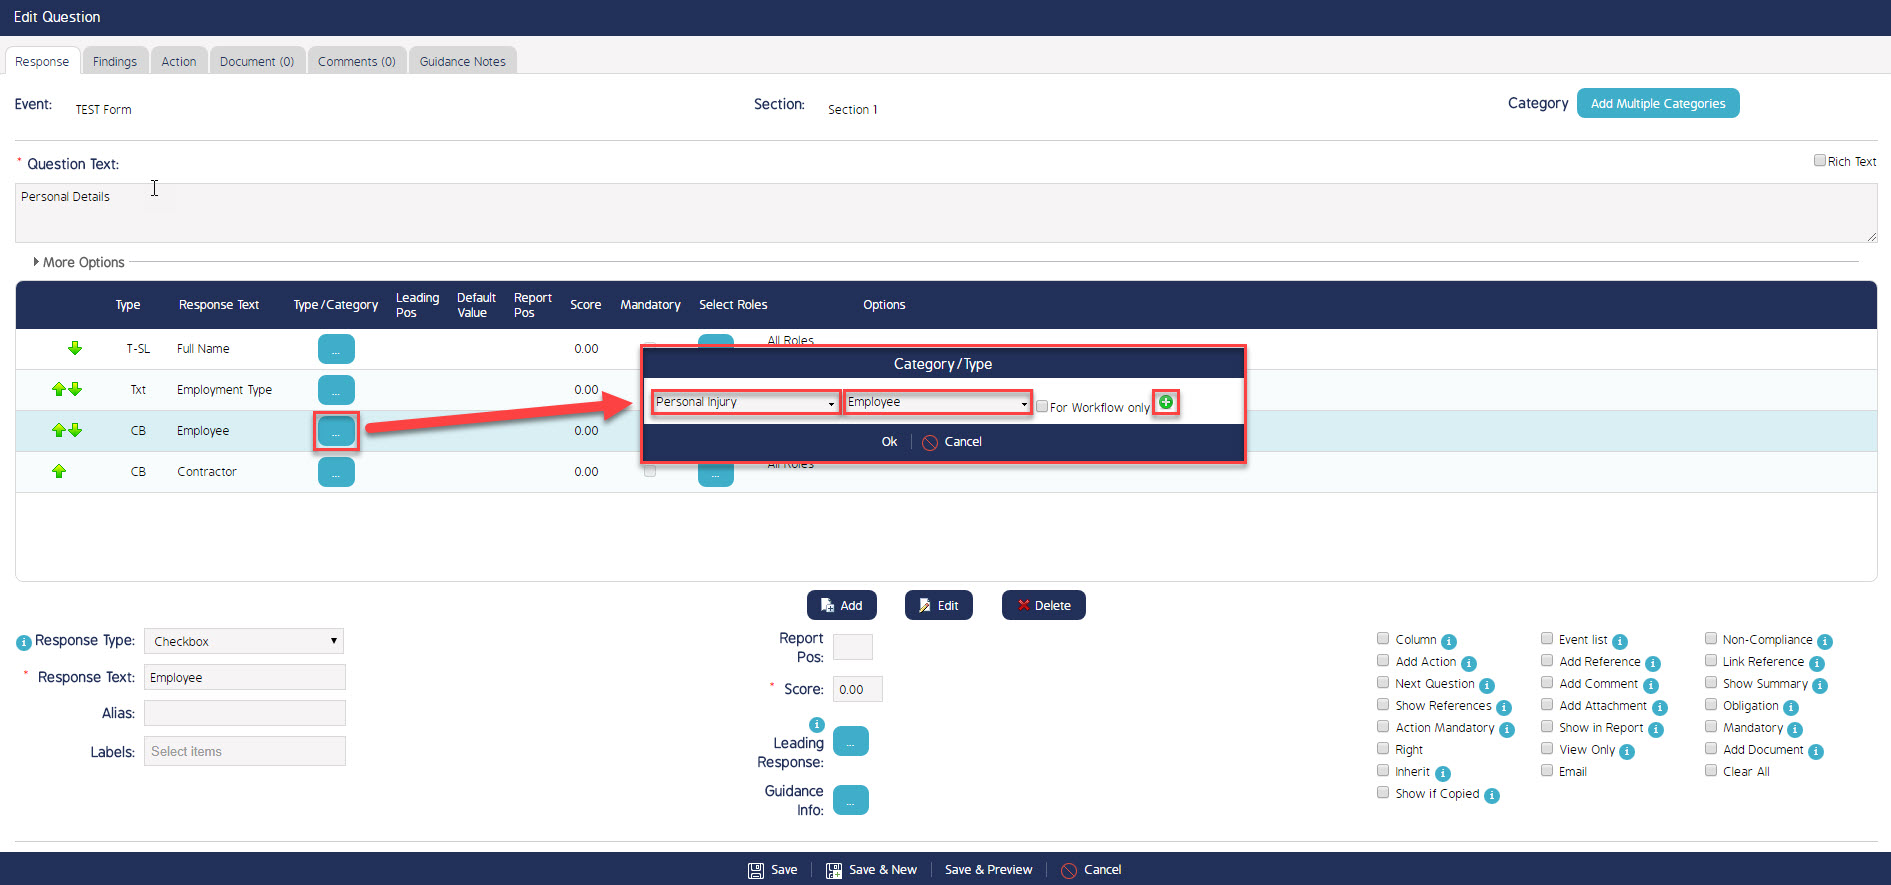
Now we have enabled the Type / Categories we would like to configure against our responses; we can now go into a Question in which we would like to configure the Responses. Select the Button within the Type / Category column, this will display a pop-up. Within the pop-up select the Category and Type you would like to be raised followed by the Green (+) icon. Ensure to Save and Publish the Draft Revision for the changes to be updated.
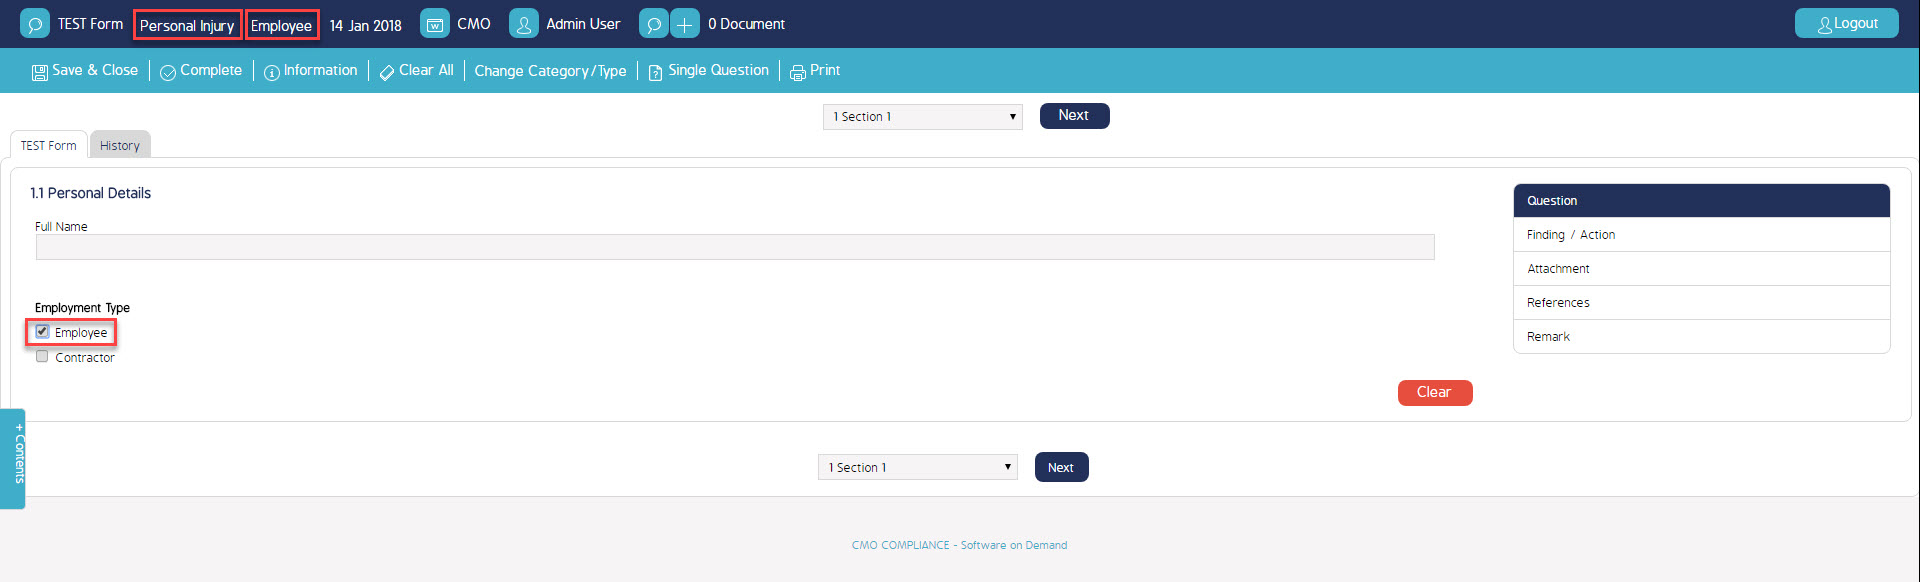
Now we have Configured the Type / Category against our Response we can test it out. Upon Performing the Event and selecting the Response we have Configured we can see at the top of the page our Type / Category have been picked up. Furthermore, by selecting 'Change Category / Type' at the top of the page we can see all Types / Categories raised.
What's Next
This how-to has demonstrated how to Configuring Type / Categories to Responses. A further walkthrough video can be accessed via the following link.